Today you will learn how to update the firmware on a Mavic 2. Our DJI Mavic 2 Firmware Update Guide covers both the Mavic 2 Pro and the Mavic 2 Zoom. To ensure the process is as painless as possible just follow the steps we outline below. If you have questions regarding our Mavic 2 Firmware Update Guide, don’t hesitate to reach out in the comments!
Mavic 2 Firmware Update Video
If you prefer to learn the different ways to update the Mavic 2 Firmware, as well as figure out when the best time to update check out our Video:
UPDATE 2:
What’s New in v01.00.03.00:
- Fixed the camera live view so it does not become blurry when using a color profile, i.e. D-Log, B&W, etc.
- Added Waypoints (requires DJI GO 4 v4.3.12 or later).
- Enabled Lateral Vision Systems for Timelapse (see Mavic 2 Pro/Zoom User Manual for more information about obstacle sensing).
- Increased the altitude accuracy of Waypoints in Hyperlapse. When using Task Library to repeat a flight, make sure the takeoff altitude is the same.
- Fixed issues:
- The remote controller’s operating time was shortened when used with some mobile devices.
- You could not open Sphere panorama photos in Facebook.
- The Intelligent Flight Battery could not be charged when the environment temperature was between 5° and 10° C.
Update:
Previous Firmware versions:
What’s New in v01.00.00.00 – v01.00.02.00: Official Release Notes Here.
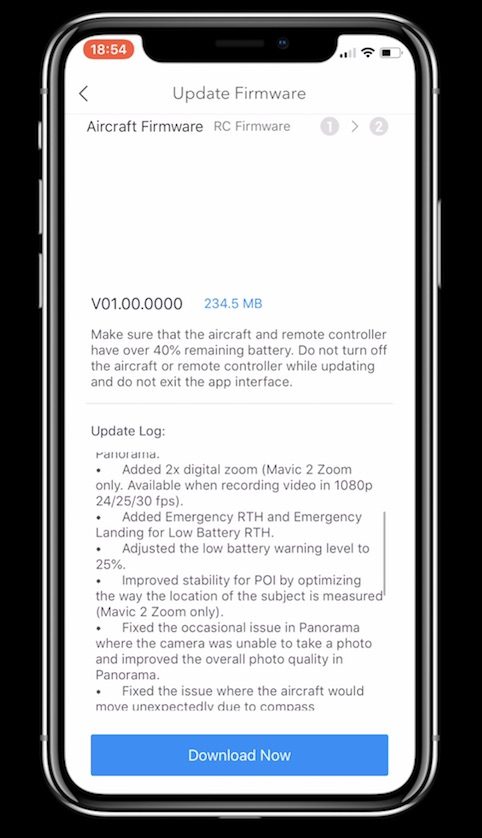
Steps to update the Mavic 2 Firmware via DJI GO 4 in App Update:
Before you get started with updating the firmware on your Mavic 2 Pro or Mavic 2 Zoom, you can take extra precautions, by removing the propellers before the update, and ensuring that your batteries are charged. The removal of the batteries reduces the risk of the motors, spinning up accidentally and causing havoc on your desk :). Also be sure that the gimbal clamp is removed and that all legs of the drone are unfolded. Alright, let’s get to that update!
- Download the latest version of the DJI GO App on the Apple or Google Play App Store.
- Launch DJI GO App.
- Ensure you have at least 50% battery in your Mavic 2 and remote control battery.
- On the Home Screen of the DJI GO 4 App you should get an Update Available pop-up once the drone is turned on.
- If this doesn’t occur click the Camera Button to launch the Camera View.
- Tap the top status bar in top center of the screen.
- Under Overall Status it should now say Update available/required.
- Tap Update.
*If you have issues with the Update see the section titled “If you have Issues” section below.
How do I figure out which version the Mavic 2 aircraft, remote control or DJI GO App I have?
If you are wondering what version of the DJI GO 4 App you have on your smartphone or if you just want to know which version of the Mavic 2 Firmware you have on your Mavic 2 Pro or Mavic 2 Zoom, you can follow these steps to find that out.
- In the DJI GO App launch the Camera View.
- Tap the top right Menu icon (…)
- On the popped up Menu tap the three dots (…) on the left bottom menubar.
- Scroll down to “About”.
- Tap About.
- See App Version, Aircraft Version, RC Version.
If you have Issues with the DJI GO 4 In-App Update:
You may get the occassional error while trying to update. This can of course be caused by a variety of reasons. You can attempt the following steps to try and alleviate the issue or use the DJI Assistant 2 Program on a PC or Mac to update your Mavic 2. We cover those steps as well in a bit below.
- Turn off the Mavic 2 and the remote control.
- Delete the DJI GO 4 App off of your smartphone.
- Reinstall the DJI GO 4 App through the Appstore.
- Restart the Firmware Update in the DJI GO App.
- After 100% complete, power cycle the Mavic 2 again and also power cycle the remote control.
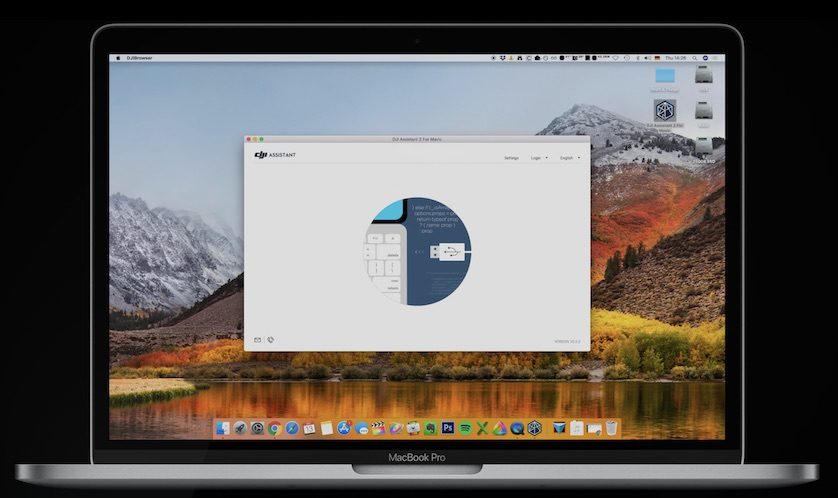
Steps to update the Mavic 2 Pro or Mavic 2 Zoom Firmware with the DJI Assistant 2:
Preferred Method*
Our preferred method of updating our Mavic 2 Pro. Of course, this also works for the Zoom. You can select which firmware version you want to update to while using the Assistant 2. Follow these steps to update your Mavic 2 with the Assistant.
- Ensure the Mavic 2 battery is at minimum 50% charged.
- Ensure the PC or Mac you will use for the upgrade is connected to the internet.
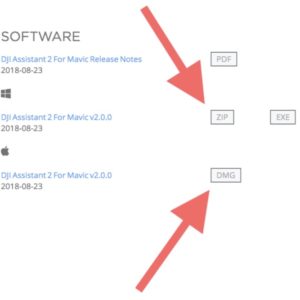
- Download the DJI Assistant 2 Software from DJI HERE
- Connect the aircraft to a PC or Mac via the supplied USB-C cable.
- Plug the USB-C plug into the USB-C port located on the right side of the drone just behind the right intake vent of the Mavic 2.
- Plug the USB part of the cable into your PC or Mac.
- Launch the DJI Assistant 2 App on the PC.
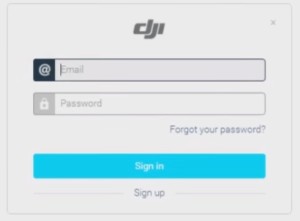
- Click Login on the top right of the App.
- Login with your DJI Account. If you don’t have one create one using the Sign Up button.
- Select & Click Mavic 2 on the left side of the Screen.
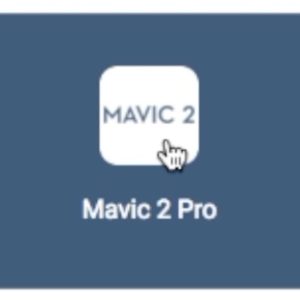
- Click Upgrade for the available Firmware Packages on the right side of the Screen. If there is more than one update available, you can choose which version you want to install. You are able to skip updates if you just want to update to the latest firmware version.
- Click Start Upgrade.
- Wait for the firmware package to download onto your computer
- The Upgrade of your Mavic 2’s firmware will start after the download is complete.
- A few notes about the Mavic 2 firmware update process:
- It takes around 10-15 minutes.
- The Mavic 2 will not Beep, it may restart on its own, so you may hear the start-up chime.
- Don’t worry if you hear the internal fan power-on. This is normal.
- Do Not Remove the USB cable during the update.
- It’s normal for the gimbal to move on it’s own. Be sure that the gimbal clamp is off and nothing obscructs it’s full movement abilities.
- The indicators and status LED’s may flash abnormally.
- The aircraft may reboot on its own.
- Reboot the Mavic 2 Pro/Zoom after the firmware update is complete.
- Check IMU Values in the DJI Go App.
Important Steps after a Firmware Update on your Mavic 2:
Launch the DJI Go App while everything is connected (just the Remote Control linked to the drone, no more USB cables). Ensure your settings for Return-to-Home mode are correct. Go through any settings that you may have changed before and ensure they are set to your liking. You can test out the camera while you are at it.
Updating extra Batteries for your Mavic 2 Pro or Mavic 2 Zoom
Note that there may also be an update available for your Mavic 2’s batteries. The battery in the drone at the time of the update will get updated while doing the normal drone firmware update. If you have extra batteries and they are not updated yet, you will get the annoying “inconsistent firmware update found” error when you pop those batteries in and you are trying to go for a drone flight. To avoid these errors in the field be sure to pop each battery into the drone once the drone and remote control are updated. Sometimes it takes a second for the message to pop up.
How to update the Mavic 2 Remote Control
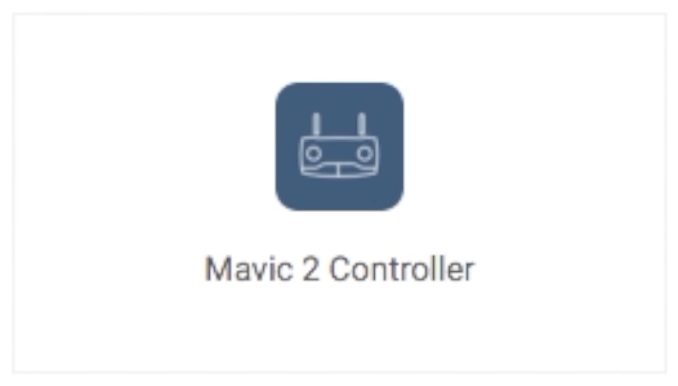
Updating the remote control uses a similar procedure as updating the drone, using the in-App (DJI GO 4) method, it will ask you to update the remote or the drone and then it will update the other. Using the DJI Assistant 2 you just attach the Mavic 2 remote control to your computer using a USB-A to a microUSB cable and attach the microUSB cable on the left side of the remote control. Just remove the normal cable that attaches to your smartphone and plug the cable which you will connect to the computer in instead. Once you launch the Assistant 2 you will choose the Remote Control like this:
Do you have issues updating your Mavic 2 Pro or Mavic 2 Zoom?
Sometimes things to work out as you may plan, if you are having issues updating your Mavic 2 using either the DJI GO 4 App or even using the DJI Assistant 2, then let us know in the comments below!
STAY IN TOUCH!
If you’d like to stay up to date with all the latest drone/gimbal news, rumors, and reviews, then follow us on YouTube, Twitter, Facebook, Instagram or sign up for our email newsletter.
Purchase your next drone directly from DJI or retailers like Amazon. By using our links, we will make a small commission, at no cost to you. Thank you for helping QuadcopterGuide grow!


