Welcome to my DJI Phantom 2 Unboxing Post. I decided to take photos of the event since the packaging reminded me of an Apple product. The extra thought that went into the packaging is evident. On one side you think meh it’s just packaging get on with it, but when you purchase something nice like this Phantom 2 it’s a pleasant experience to open it for the first time.
I ended up getting the DJI Phantom 2 with H3-2D Zenmuse Gimbal since the Combo deal was just too good to pass up. I’ll post the Zenmuse H3-2D Gimbal Unbox and Install later. Let’s get started:
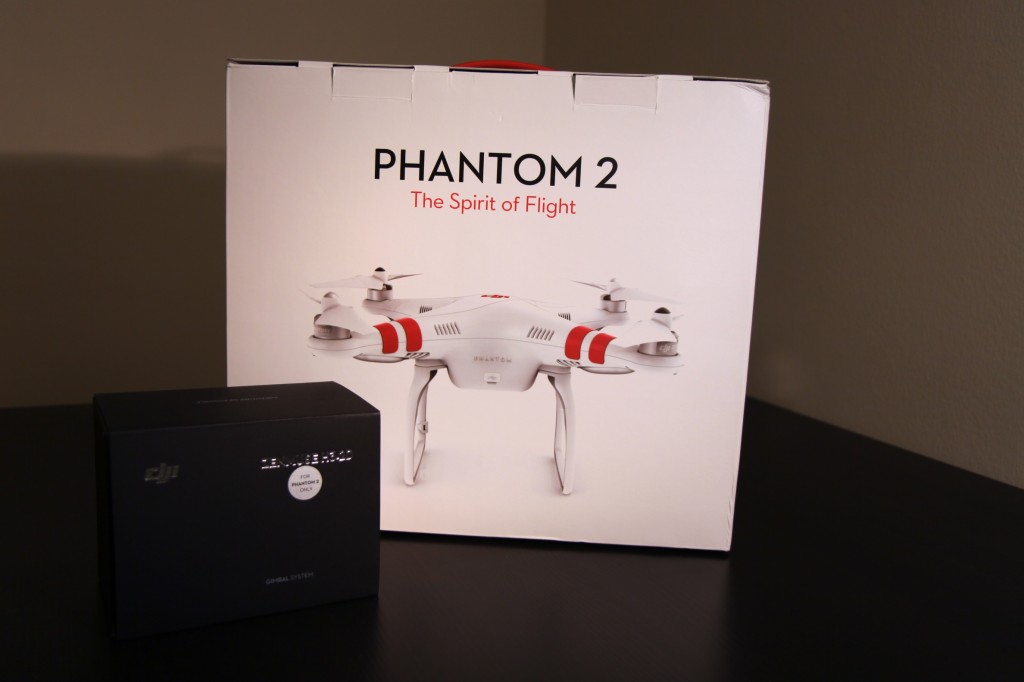
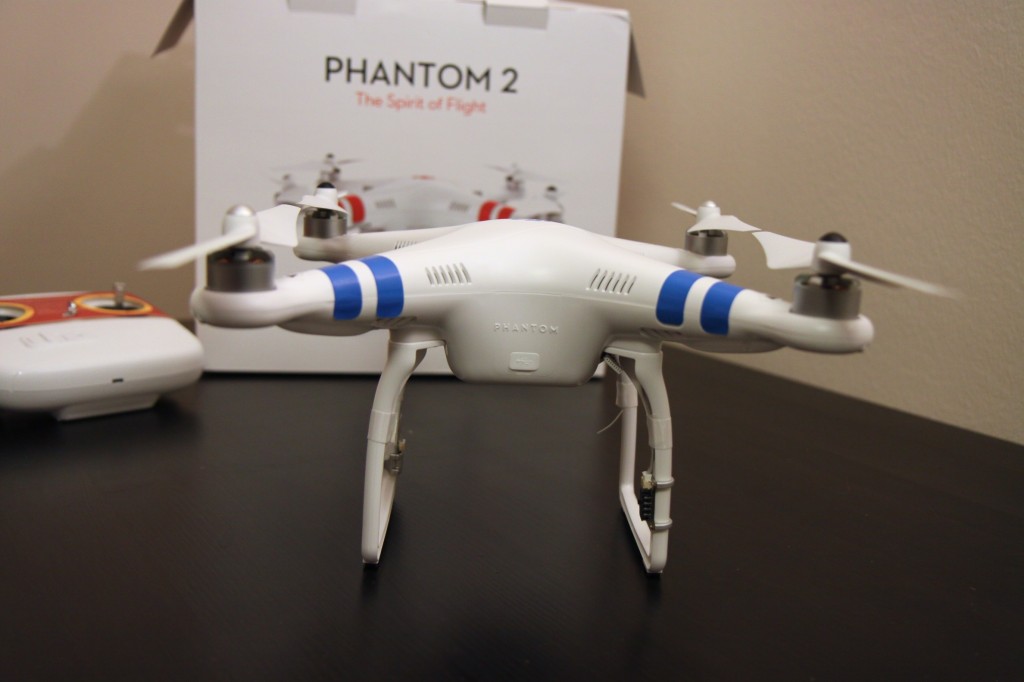
The outside of the box clearly shows the Phantom 2 and the slogan “The Spirit of Flight”.
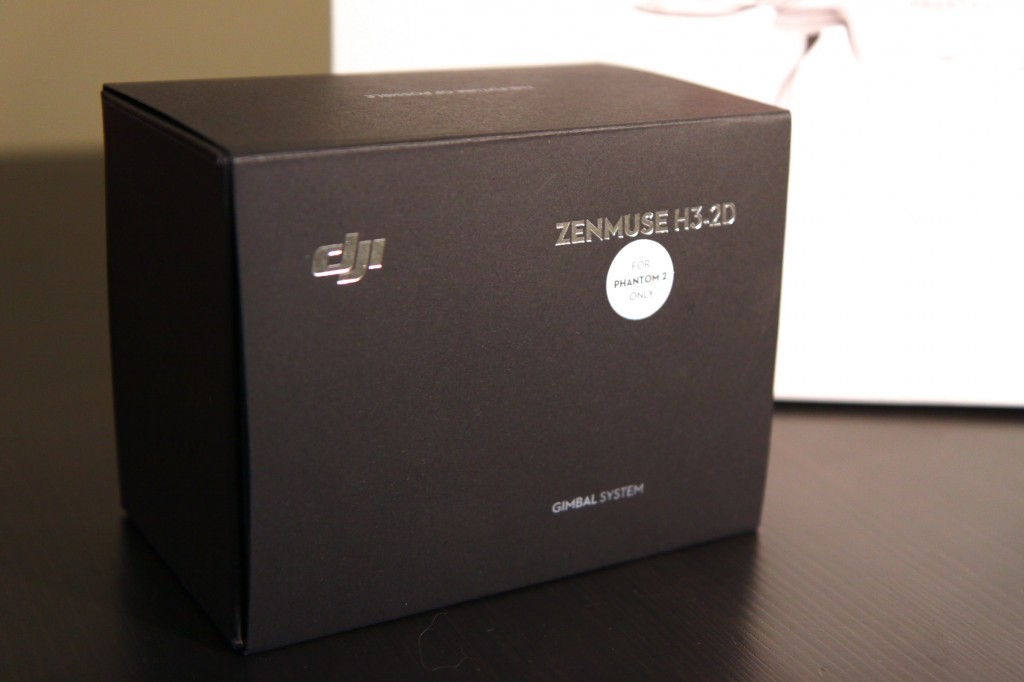
This is the Box for the Zenmuse H3-2D Gimbal which I will unbox and install in a separate post.
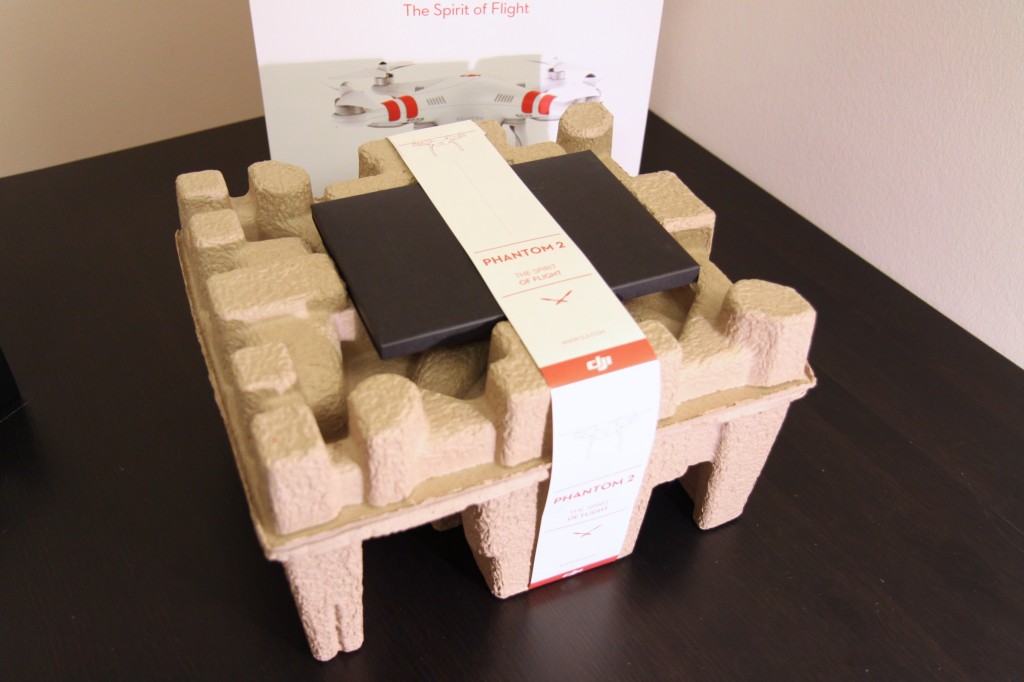
After you open the box and remove the innards this is what you end up with. They dressed up the egg crate style cardboard with the black instructions, manuals and stickers pouch with the paper band around it all.
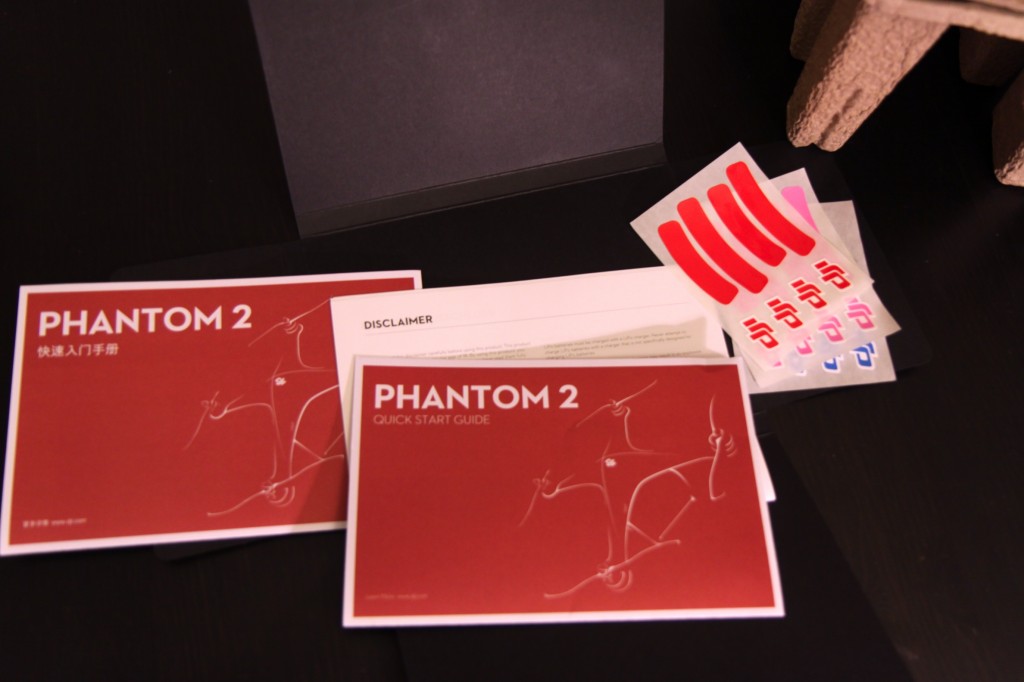
Inside the instructions pouch you find english and chinese quick setup guides, disclaimers as well as 3 sets of stickers which help you orient the Phantom 2 whilst it is in flight. Colors for your choosing are red, blue (which I chose), and pink.
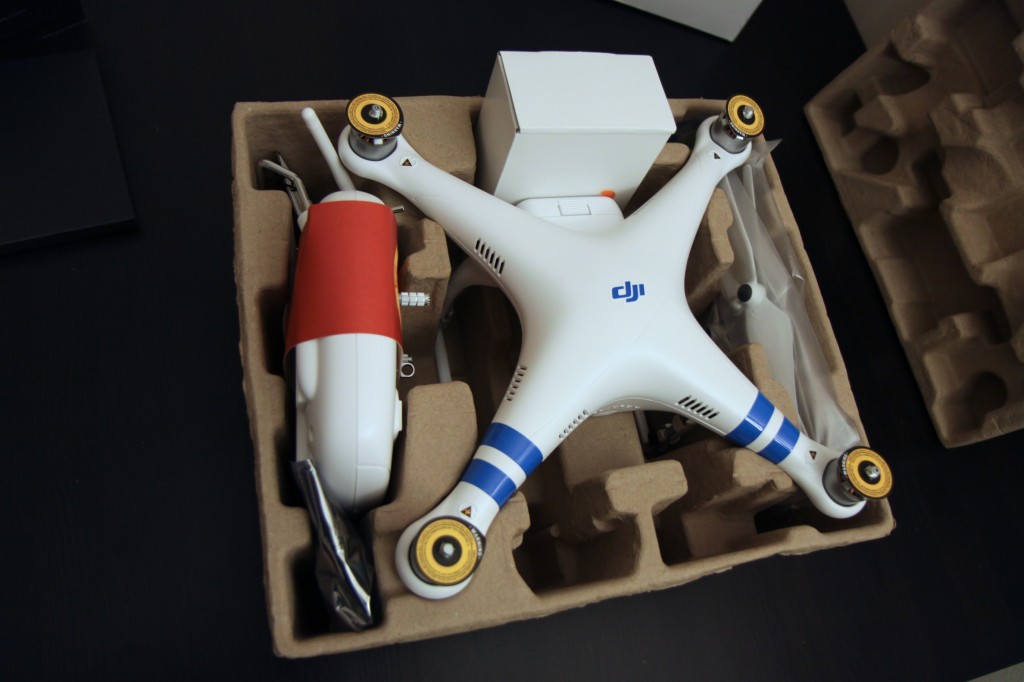
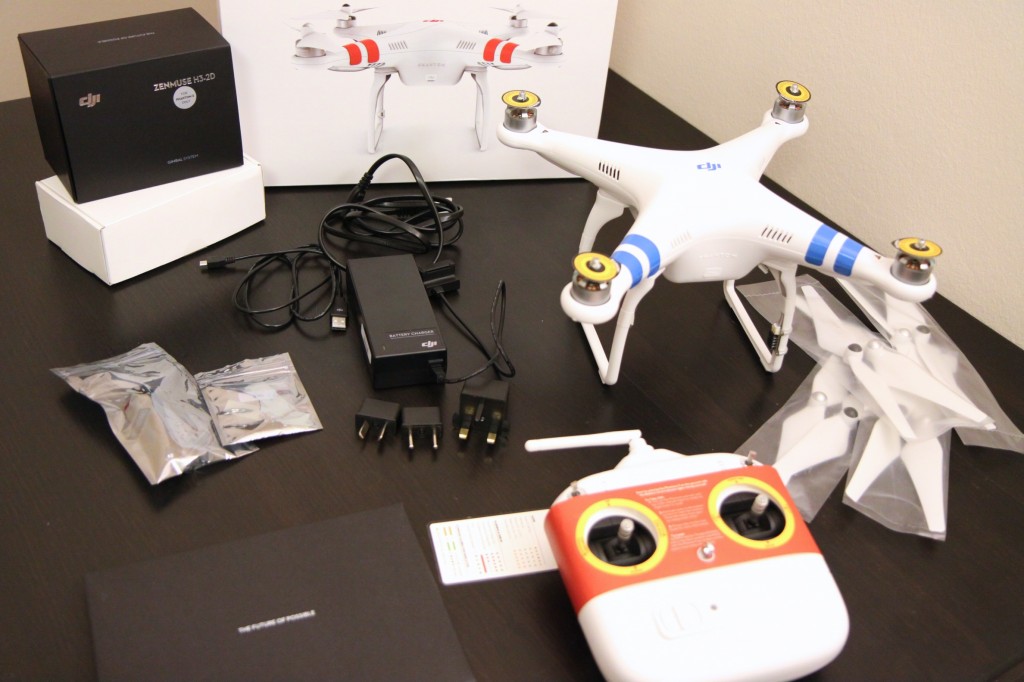
After you remove the paper band and remove the lid of the cardboard egg crate box you come upon the first glimpse of your own personal Phantom 2. Also in this view you can see the Tx (Transmitter or as DJI calls it the Remote Controller, which drives me nuts…it’s a Transmitter), the white box which contains the wall charger and USB cable and international adapters. The self-tightening propellers and a complete spare set are also included. This leaves 2 electrostatic-bag style packages which include a screwdriver, screws for the gimbal mounting holes, spare landing gear cushions.
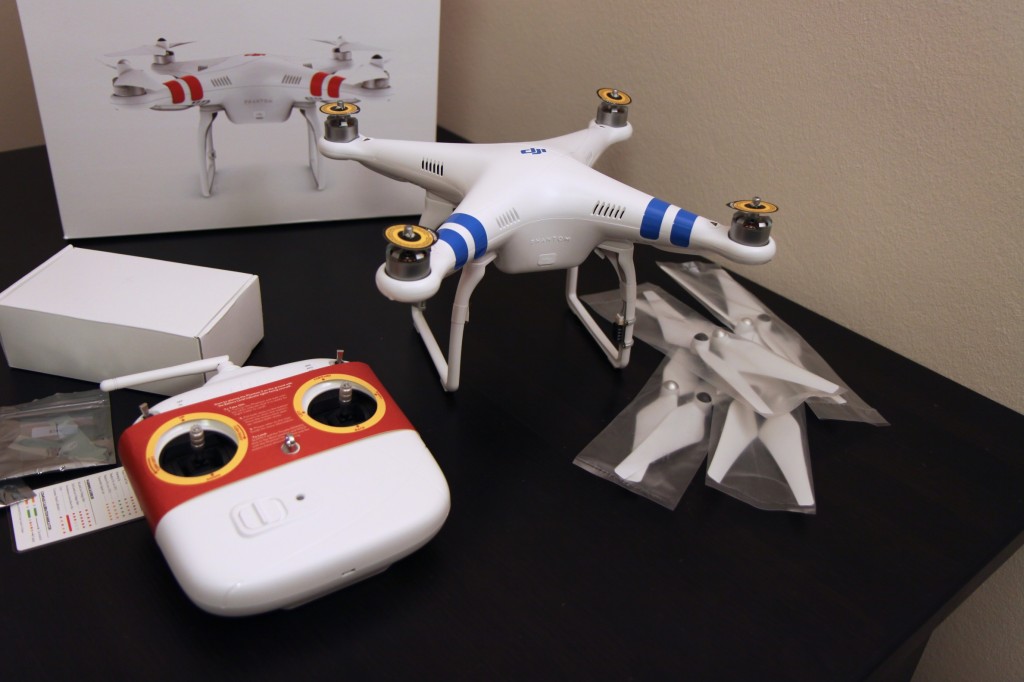
Here’s everything laid out on a table.
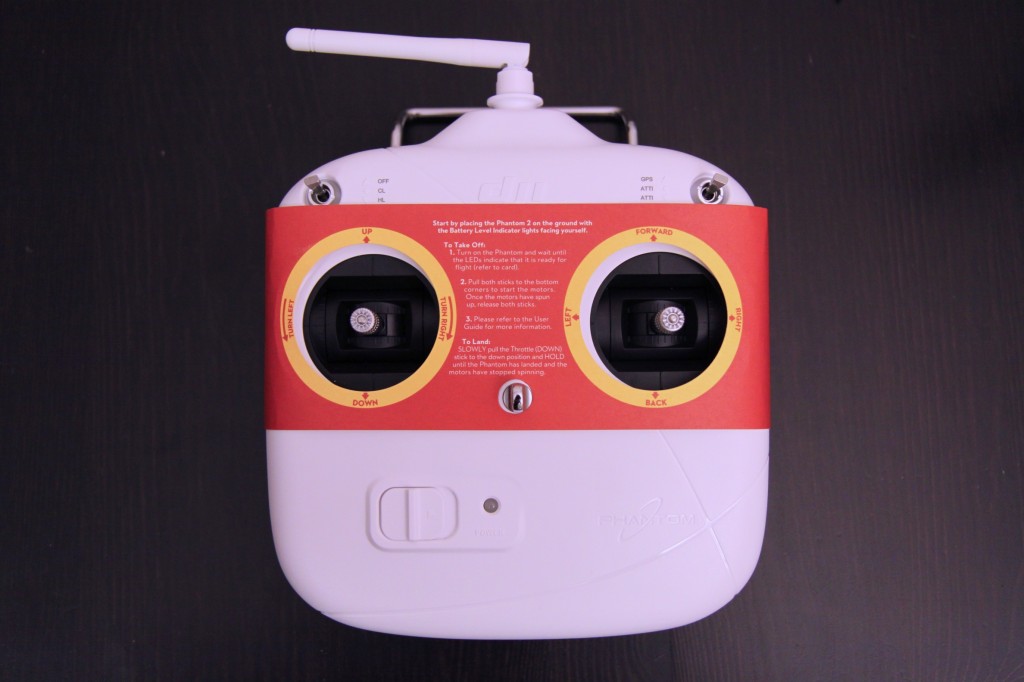
The full-size (normal RC Hobby Transmitter size) Remote Control with red warning paper label which describes take-off/landing procedures and the CSC (combination stick commands) execution steps. I’ll describe these details in a later post.
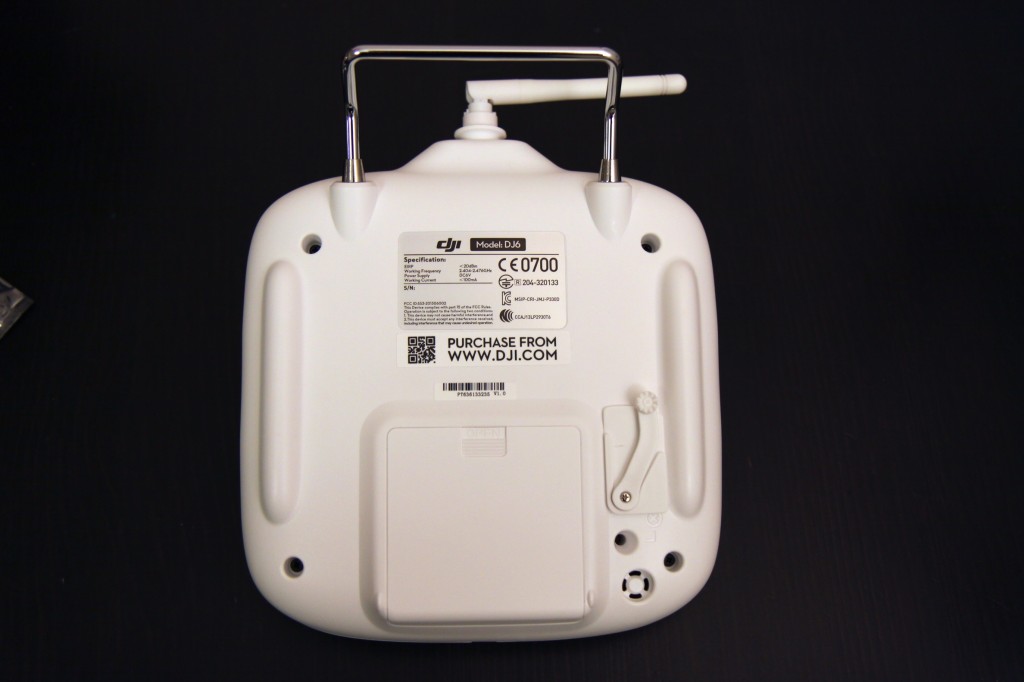
The bottom of the Tx showing the 5th channel (Remote Tilt Channel for cameras attached to the gimbal)
The lithium-polymer wall charger with international adapters for (US, Europe 2 Prong, UK), and little accessory bags. Also the first glimpse of the little cheat sheet that is attached to the Tx.
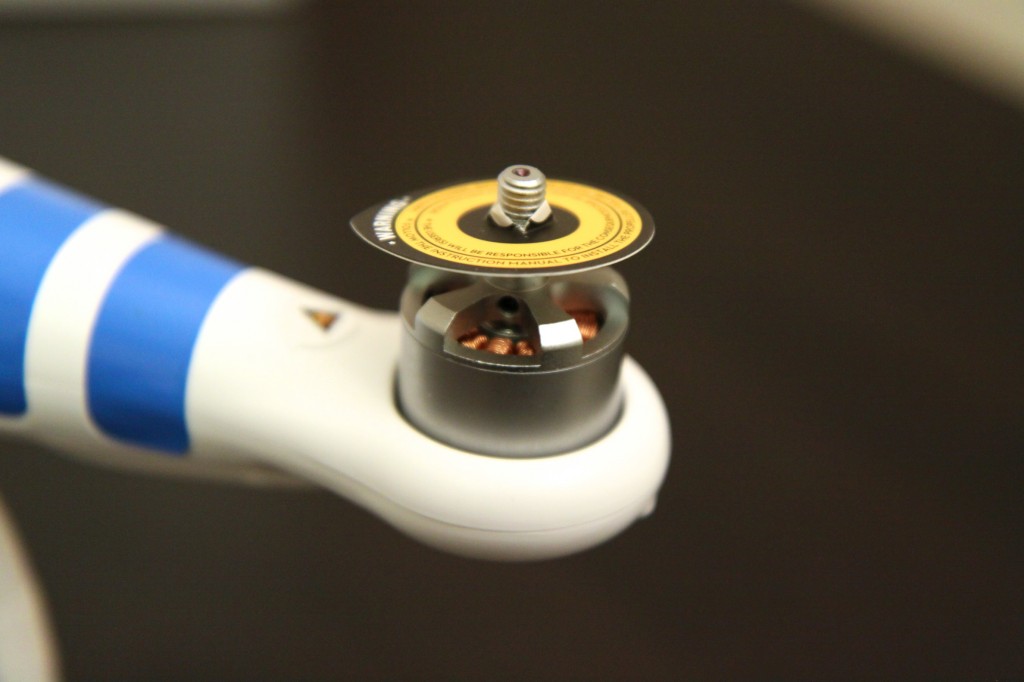
4x warning labels on the 4 motors.
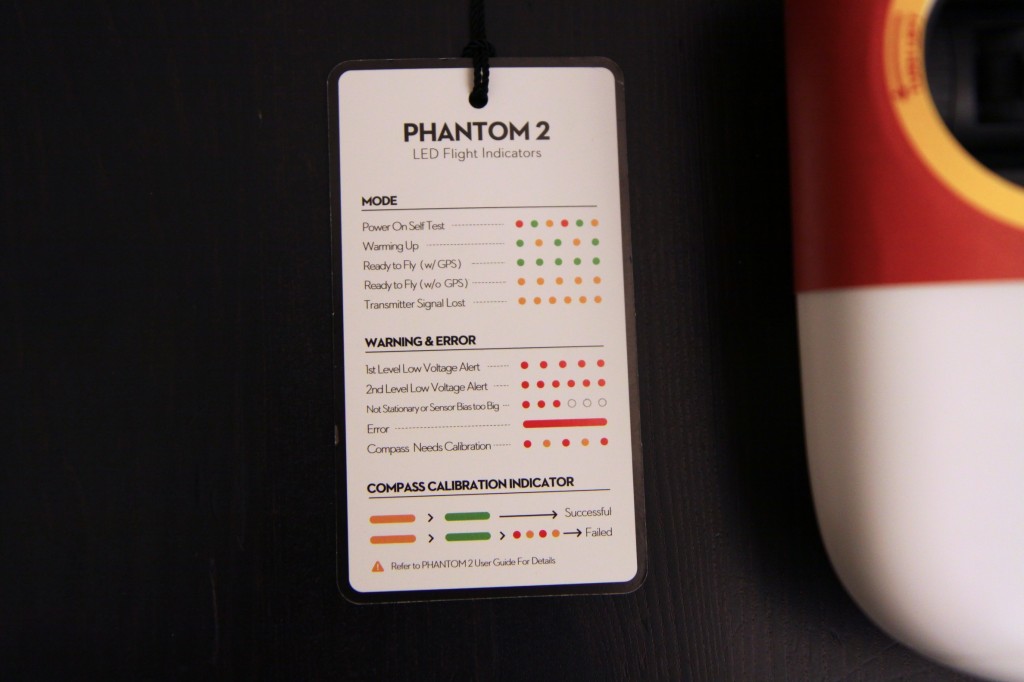
The cheat sheet I mentioned properly called the “LED Flight Indicators” Card.
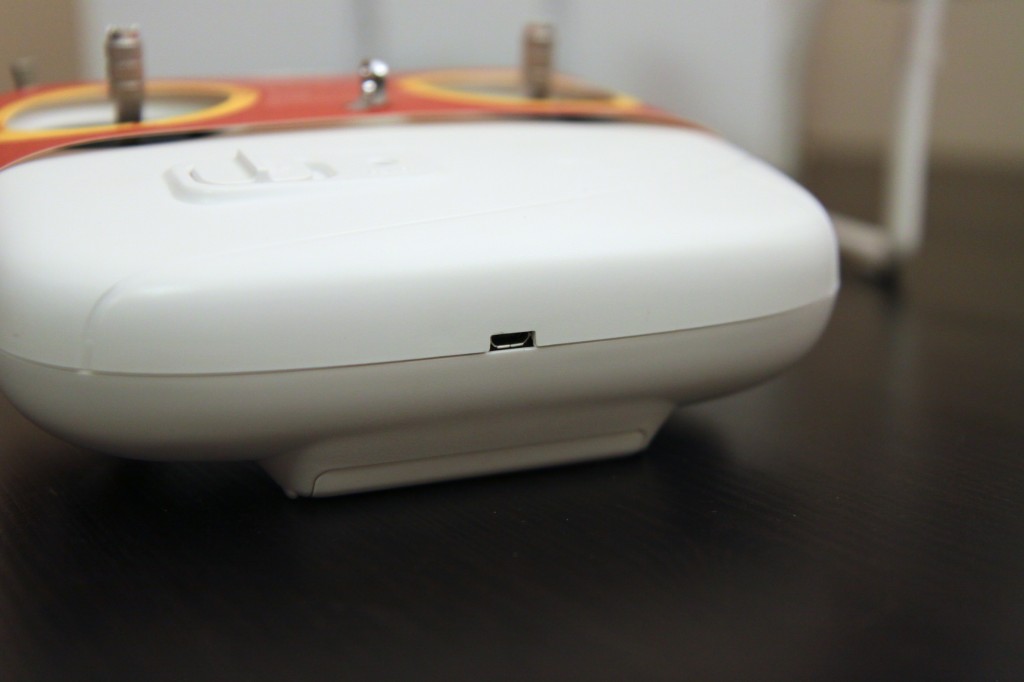
Micro USB-Port of the Tx. The Phantom 2 and the Tx can be hooked up to a computer (both Windows and Mac) to upgrade, calibrate and track usage. This is a pretty big selling point, awesome stuff.

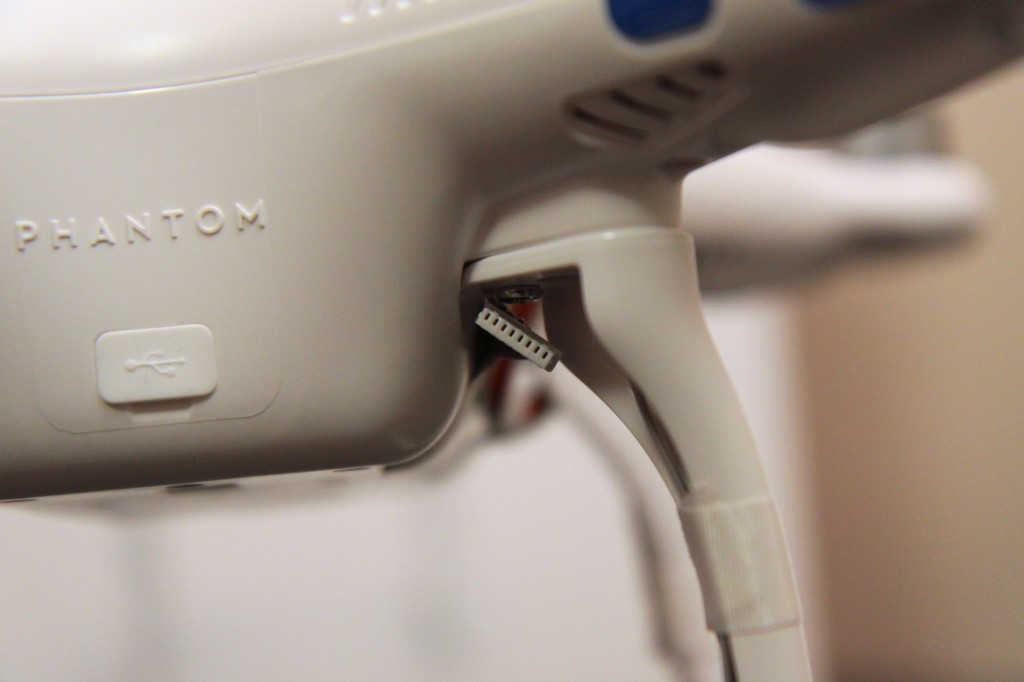
Note the little rubber cover on the front of the Phantom 2 that disguises the micro USB port on the quadcopter itself.
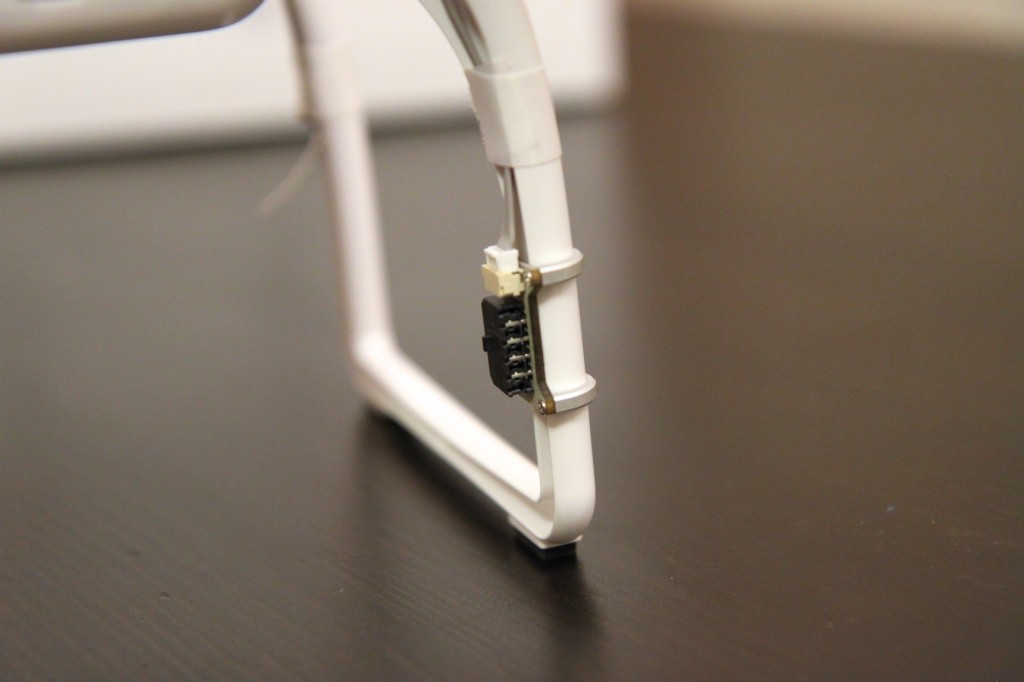
One leg of the Phantom 2 has a CAN-Bus Expansion Module which like the name suggests can be used to expand the features of your Phantom 2 quadcopter with optional accessories.
The cables are ready for the Zenmuse H3-2D Gimbal. For the original Phantom you had to buy a retrofit kit and internally modify your Phantom to get it to accept the H3-2D Gimbal. Nice feature of the Phantom 2 to have this included. Plug and Play. There’s also extra wires for powering FPV (First Person View) systems, where you can wear video goggles and see what your camera is seeing live.
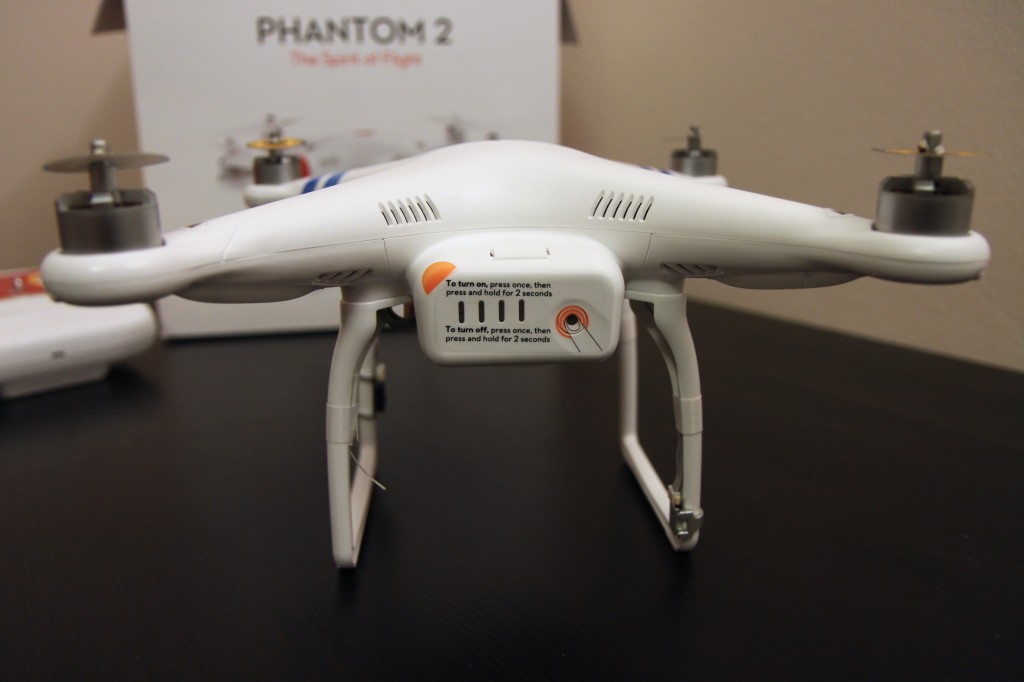
Showing the rear side of the Phantom 2, and it’s new and improved smart or intelligent battery. It’s a 5200mah 3S (3cell) lipo (lithium-polymer) battery, with led’s right on the battery so you can see what range of capacity is left in the battery without using any kind of battery gauge. That’s so 2008. Now you can hook up your quadcopter to your laptop and see exactly how much juice is left in the battery, how many times it’s been cycled (charged and then discharged again), it’s estimated overall life expectancy, voltage, etc.
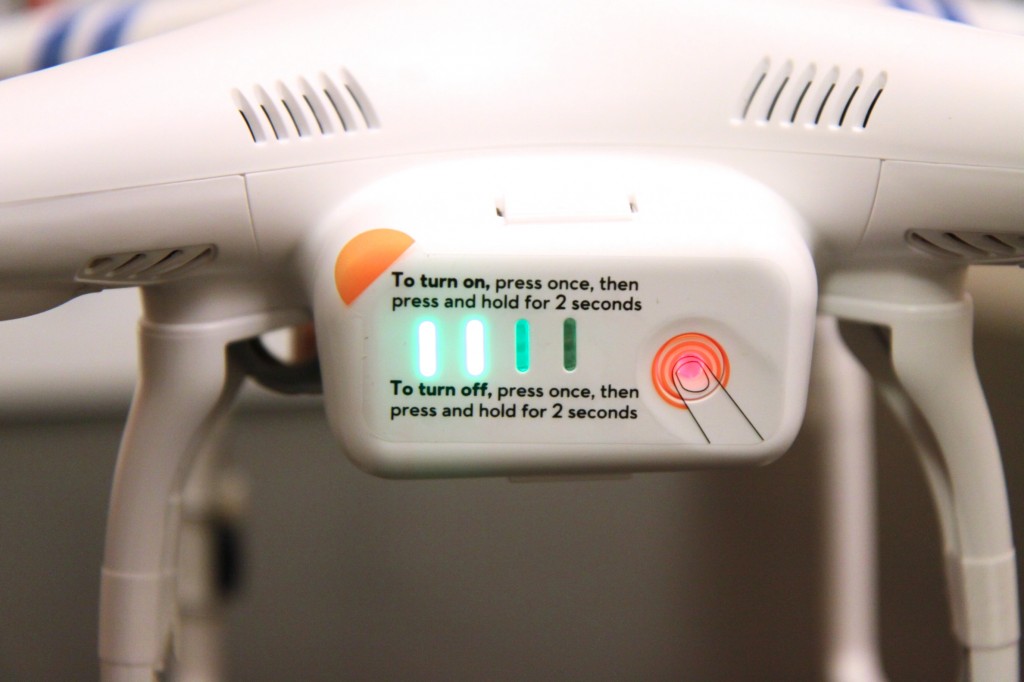
To check how much charge is left in the battery while the quadcopter is not on you tap the button on the battery and a combination of the 4 led bars will flash or stay lit.
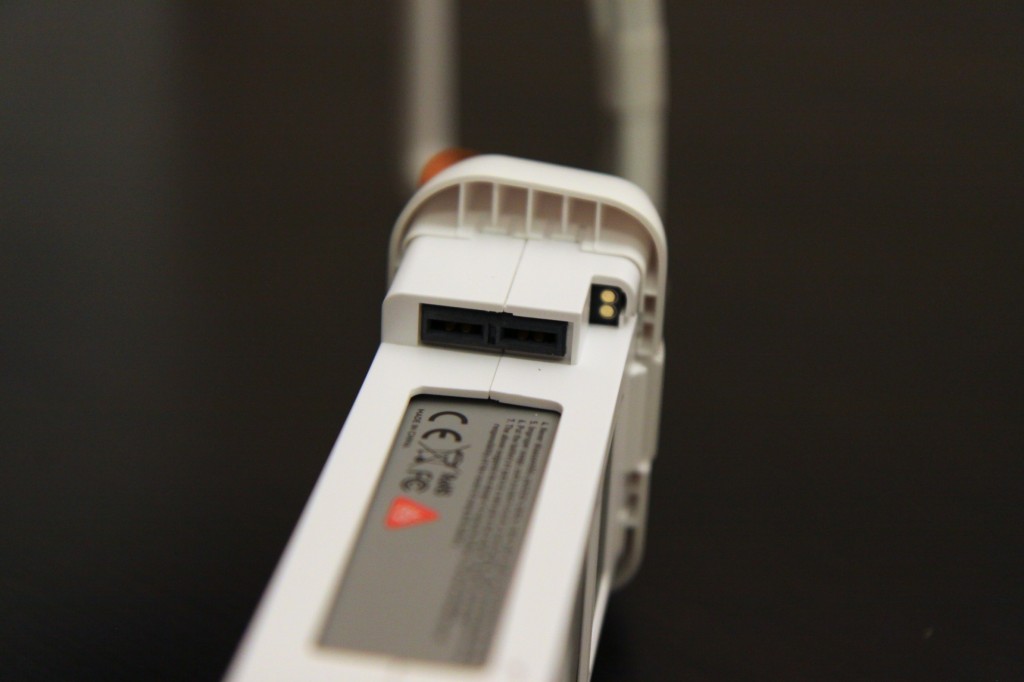
The connections for the smart battery on the quad.
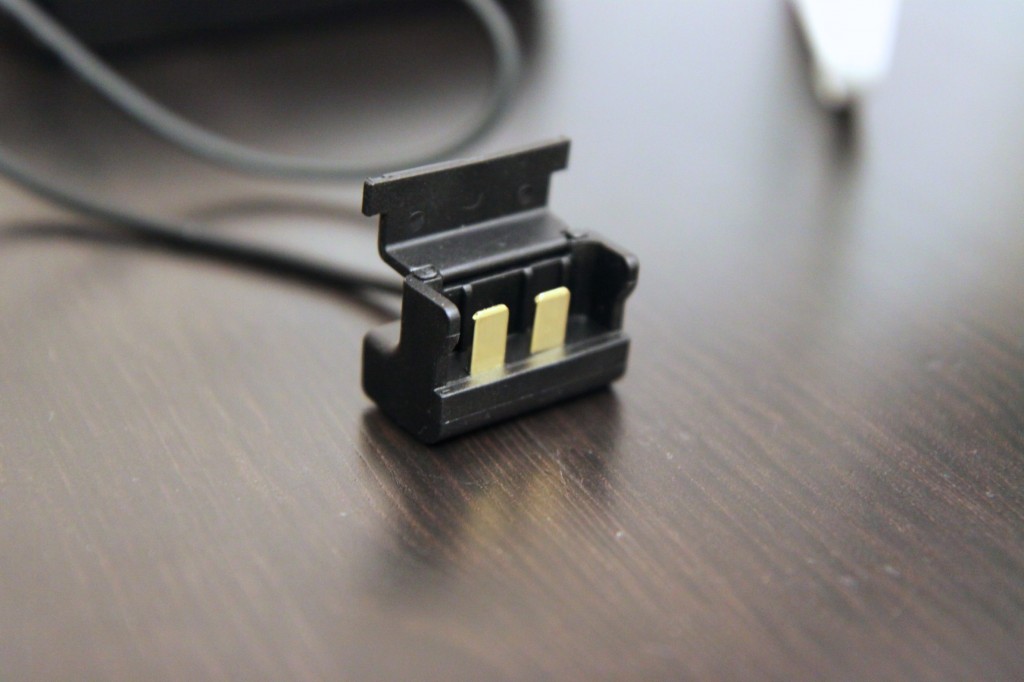
The charger showing the battery connection side.
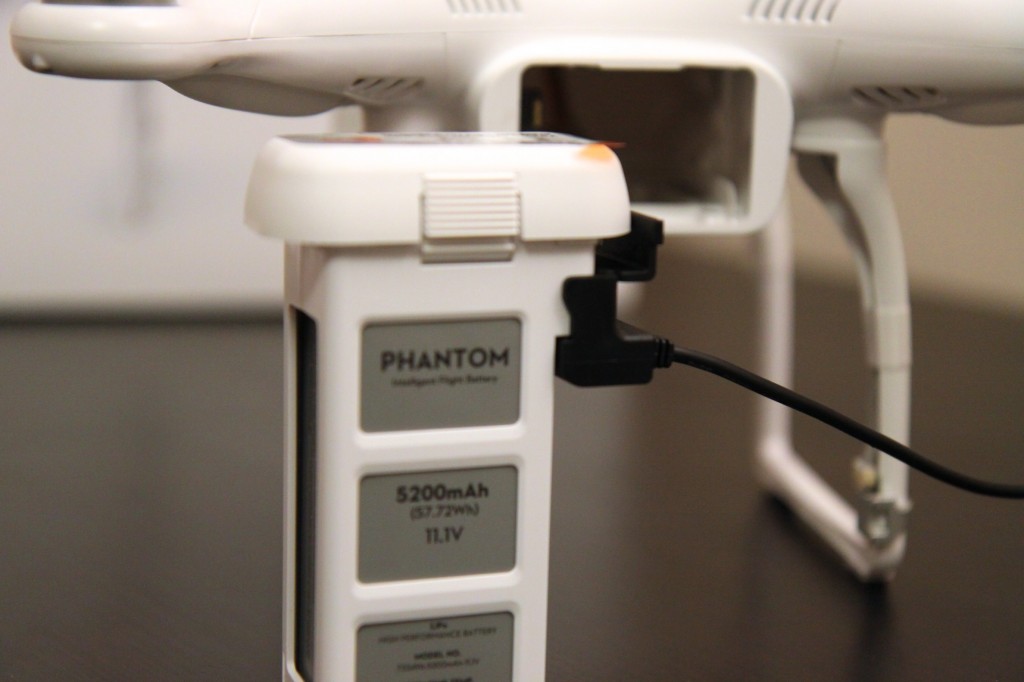
And now connected to the battery.
Now it looks like a real quadcopter, here with self tightening propellers installed. Since 2 motors turn CW (clockwise) and 2 others CCW (counter-clockwise) there are appropriate propellers for each direction. These are marked with Grey or Black dots in the middle of the propellers. The motors are also marked, the black ones have a recessed dip in the top of the motorshaft and a black dot indicating that the black props go there.

Lastly the bottom of the Phantom 2 showing the screw holes for attaching cameras or gimbals with cameras to the quadcopter. Here you can also see that two opposing legs have antennas for the receiver, which receives the 2.4Ghz signal from the Tx. Additionally you can see the previously mentioned CAN-BUS expansion port and the compass on the 4th remaining leg.