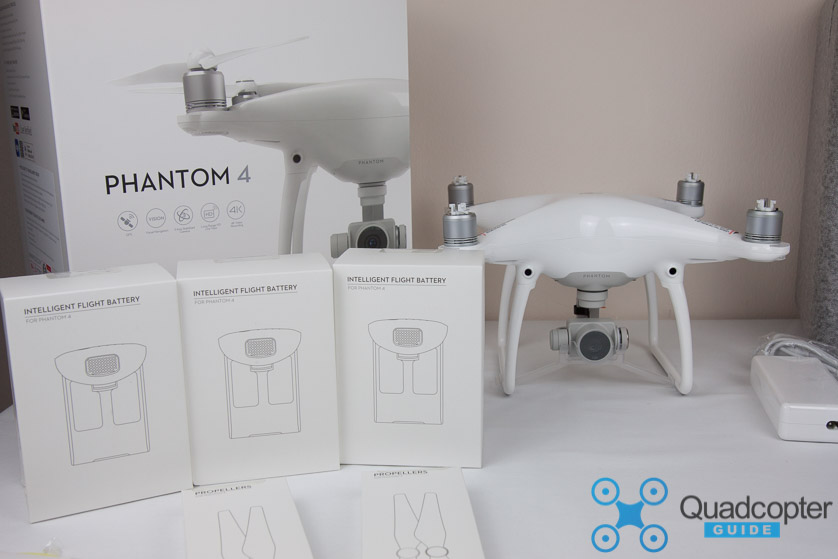
The day has come, our brand new Phantom 4 arrived. We are ready to take a peek at the latest Phantom released, with our DJI Phantom 4 Unboxing. Let us show you what to expect in the box, and take a closer look at all of the updated parts of the Phantom 4. If you would like to compare this Phantom 4 Unboxing with the previous Phantom 3 Professional Unboxing you can do that here.
First Up: The Packaging
The Phantom 4 comes shipped in a double walled cardboard outer box, which directly inside of it houses the retail packaging.
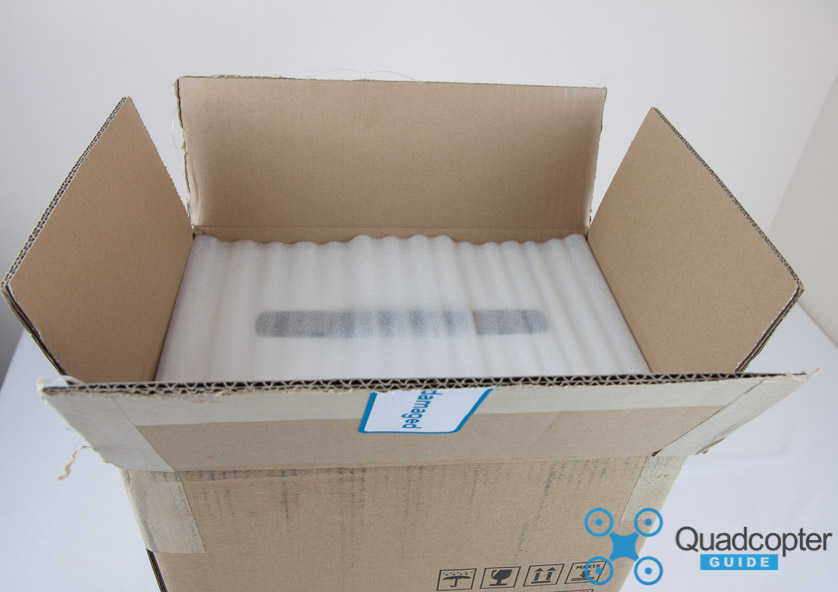 Cardboard box used for shipment
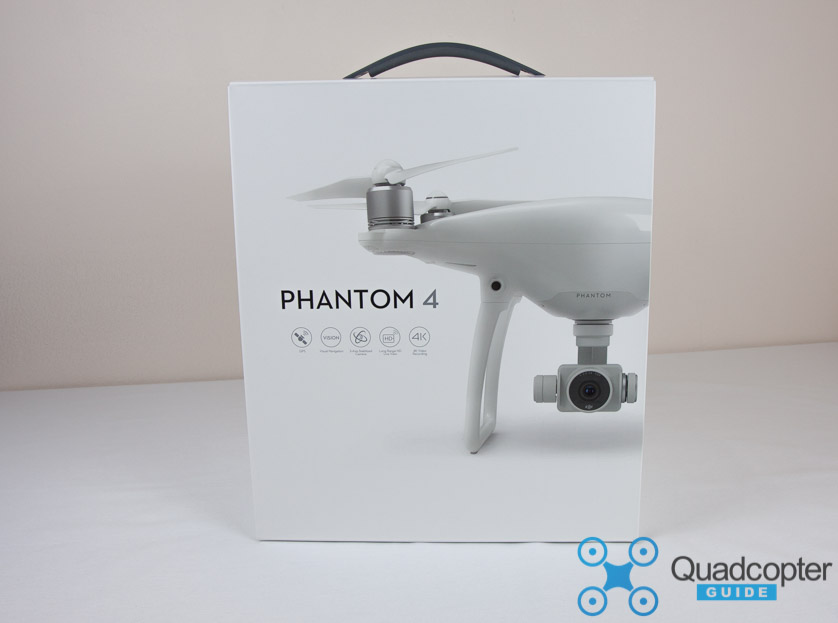 Front of retail box
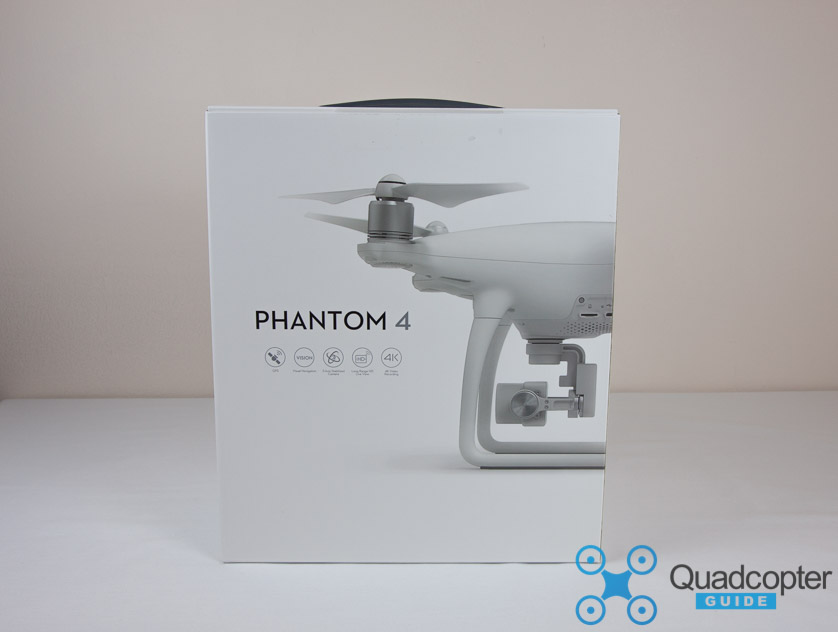 Back of retail box
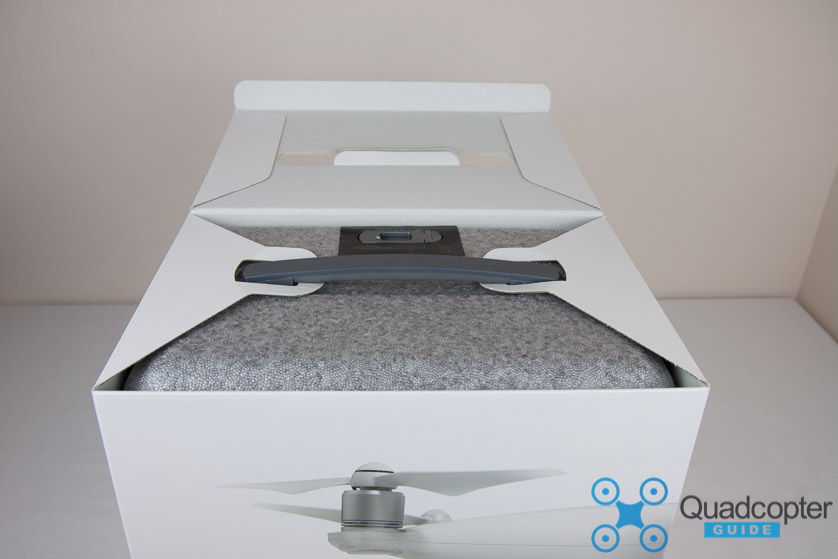 First peek inside the retail packaging, yay no more cardboard innards!
The Foam Case
The new foam case is a welcome change from the old cardboard packaging used in the previous Phantom versions. The case tides people over until they get a dedicated Phantom 4 Backpack.
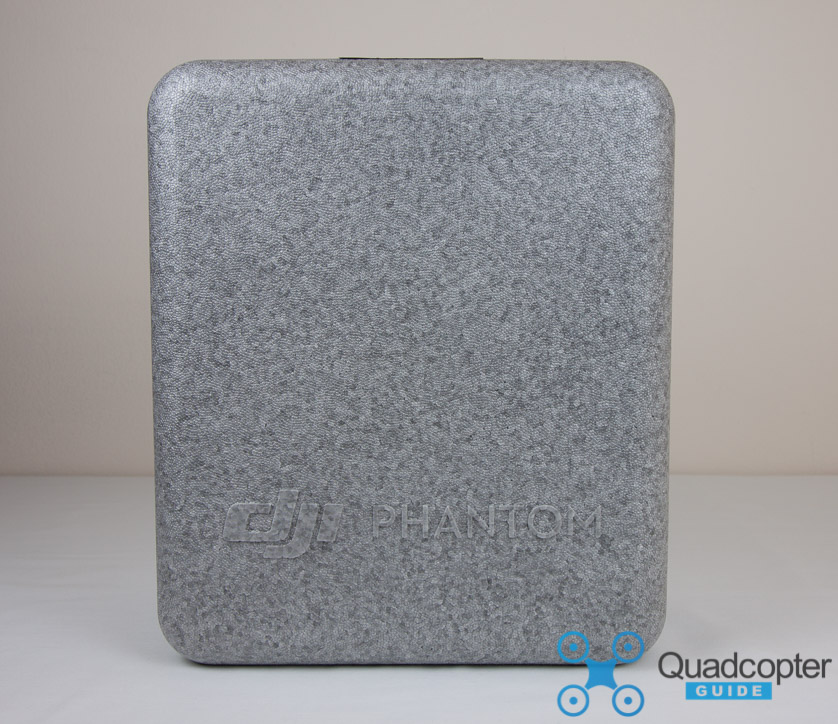 Foam case interior of retail packaging
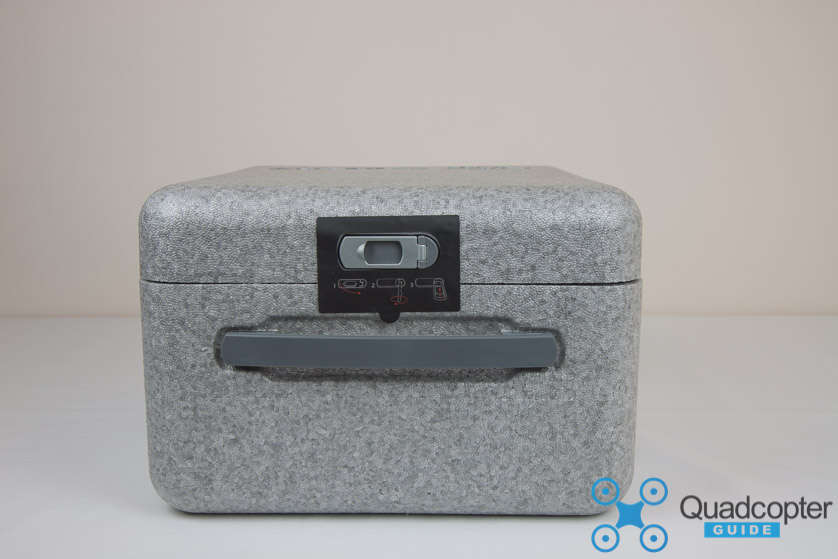 New lock to securely close the foam case
 Open the case by pulling out the lever, twisting counter-clockwise 90 degrees and ensuring the sticker doesn’t cause the case to stay glued shut.
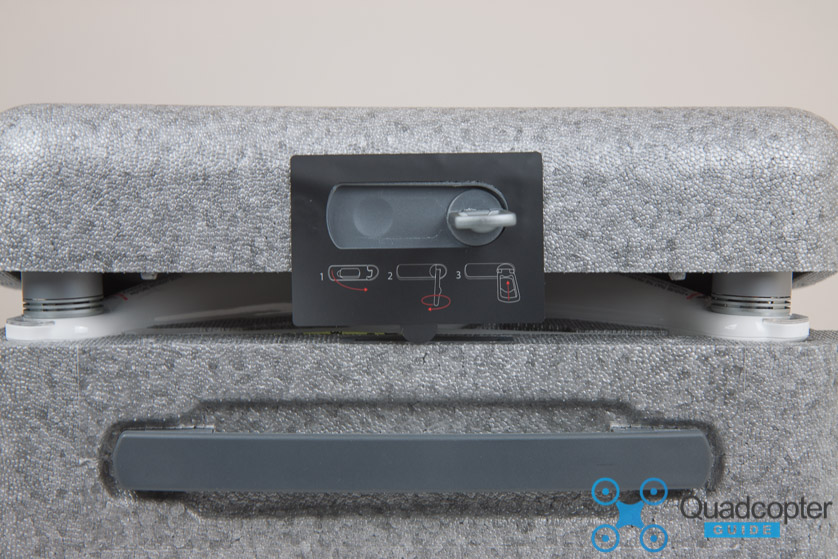 Lift carefully and viola, the Phantom 4 emerges.
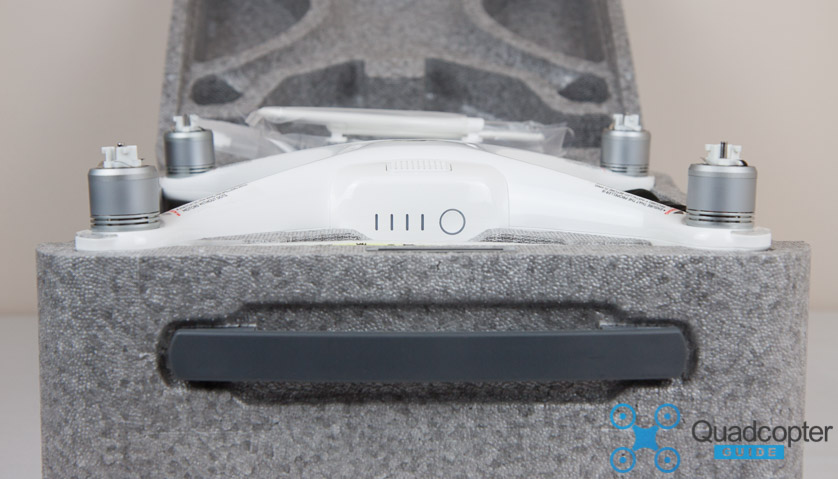 First peek at the newly designed shell of the Phantom 4 featuring the new shinier finish. The redesigned quick-release propeller mounts are also visible.
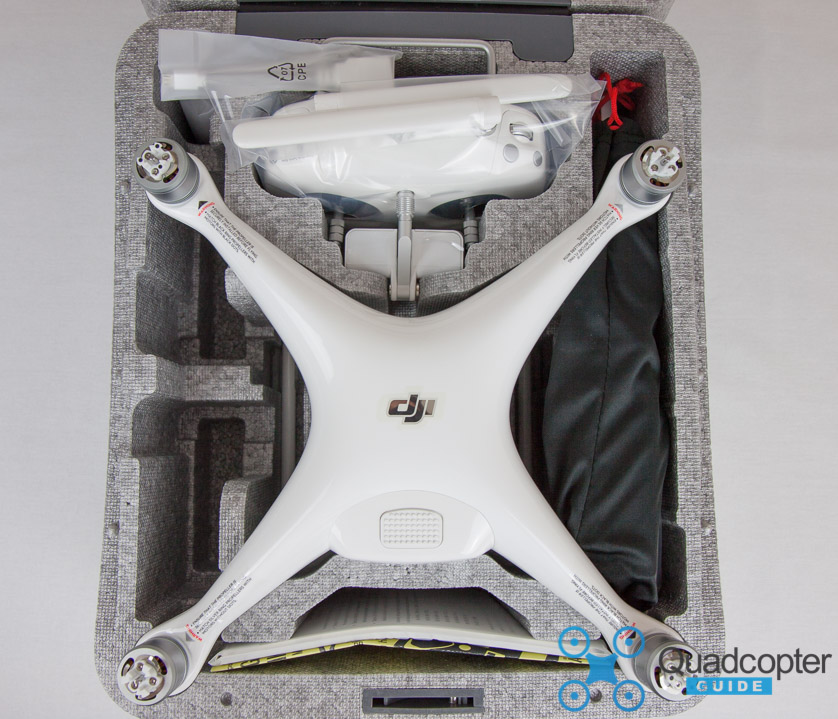 The lid of the foam case can be neatly folded back on its own hinge. Here we see the various compartments and the components that are delivered with the Phantom 4. You can fit at least three batteries in the foam case, one in the quadcopter and two along the left side of it.
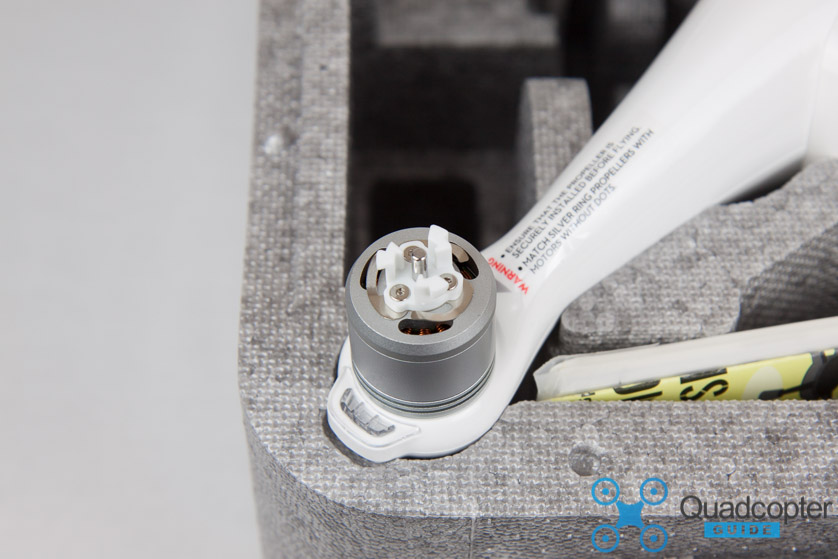 A closer look at the new quick-release propeller mounts. On this one a silver ringed propeller will be mounted, but more on that later.
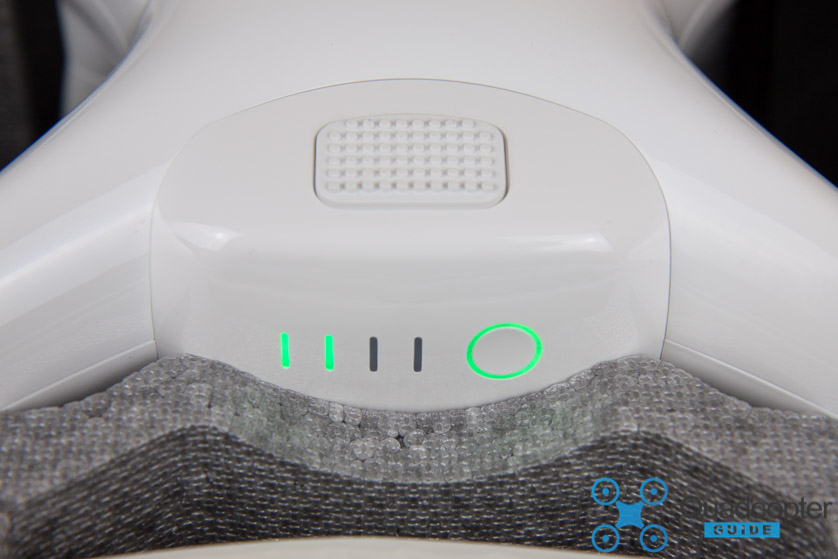 Here the Power Button was pushed to check the battery power level. Two solid lines mean the battery has a factory charge of 37.5-50%. Exactly what we expect from a Lithium-Polymer (LiPo) battery in a factory charge state. Always ensure you charge fully before taking flight. It’s best to charge the same day or if you have to the night before.
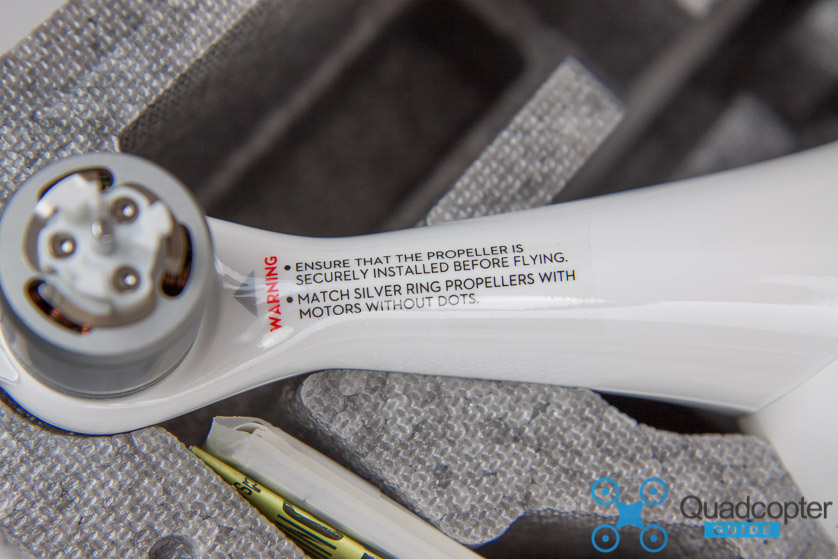 Warning stickers for the new quick-release propellers. Here a “Silver” motor for a silver propeller. The black motors have black dots on top of the white plastic quick-release mounts. There you mount the black propellers. Ensure you remove the warning stickers before your maiden flight.
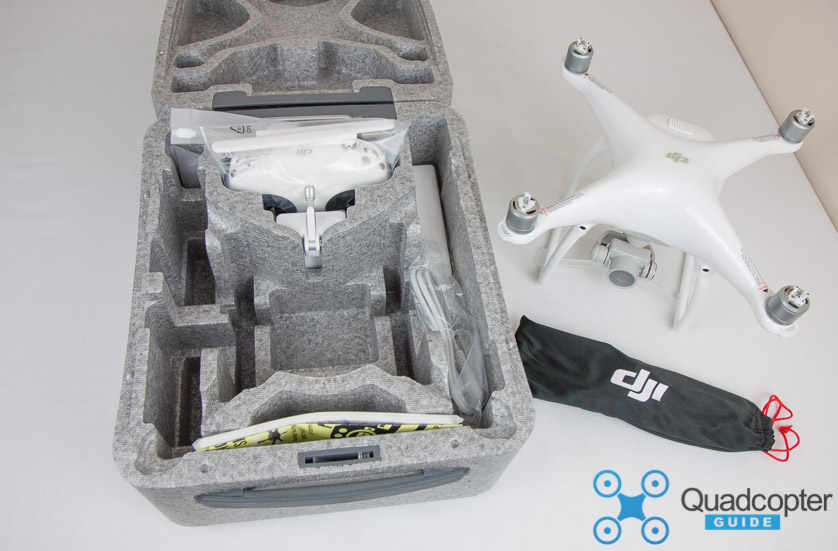 With the Phantom 4 removed from the foam case and the propeller bag also removed you can see the 100watt charger on the right side of the case.
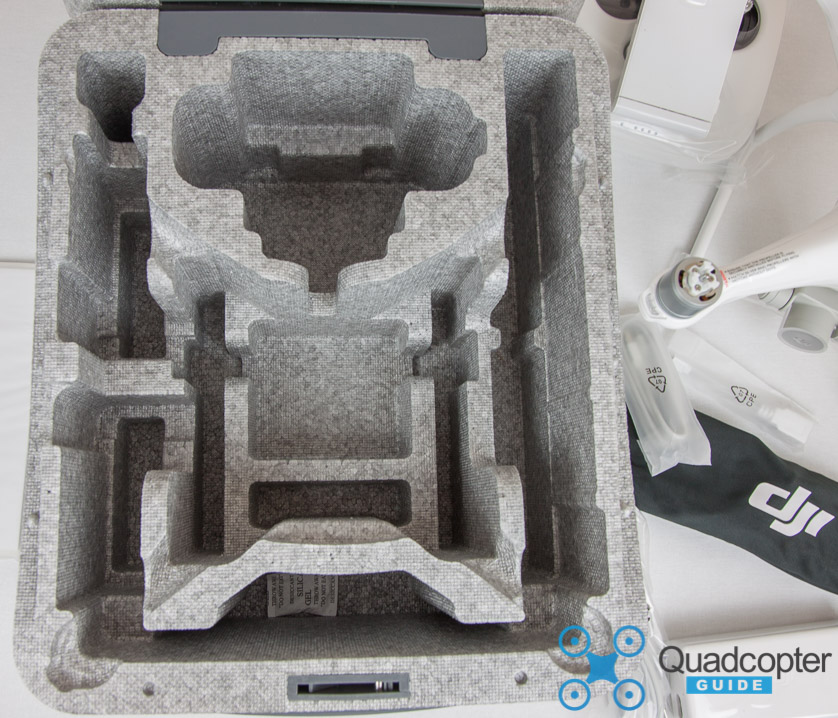 The empty foam case. It holds two extra batteries (in addition to one in the Phantom 4) in the two storage areas on the left.
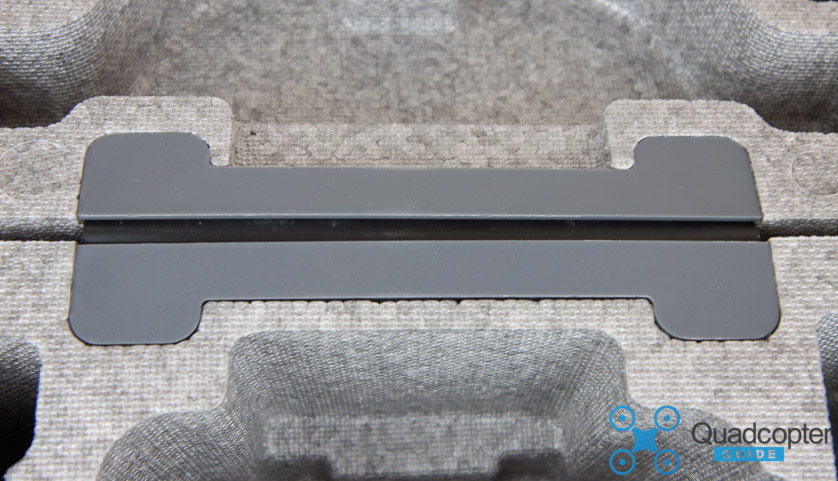 The rear hinge of the case is made of a flexible plastic/nylon to ensure it doesn’t get brittle and break with frequent use.
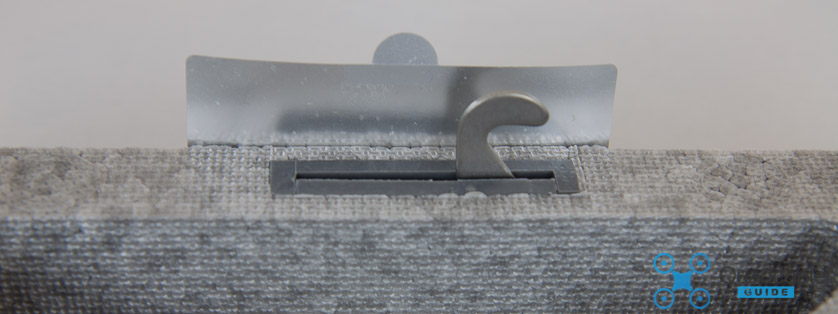 The locking mechanism of the front of the case features this large metal hook.
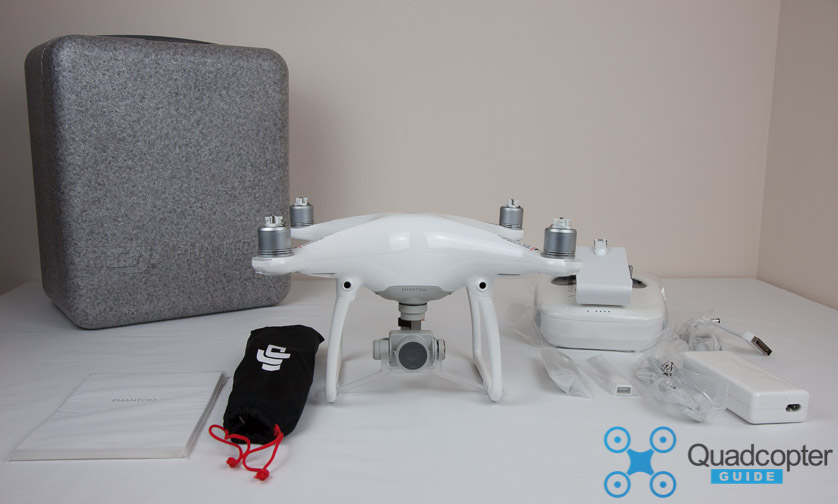 The contents all laid out. The redesigned gimbal and camera guard is a welcome change, much more solid.
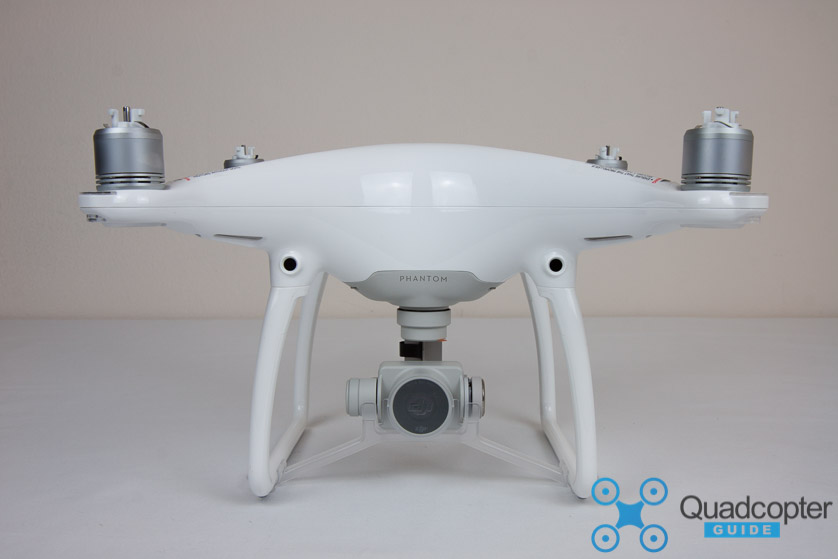 Front view of the Phantom 4, with the gimbal clamp installed. This view shows the aerodynamically redesigned shell which enables the Phantom 4 to reach 44.7 mph (72km/h). This is achieved by streamlining the shell and integrating the camera absorption board, and camera processing hardware
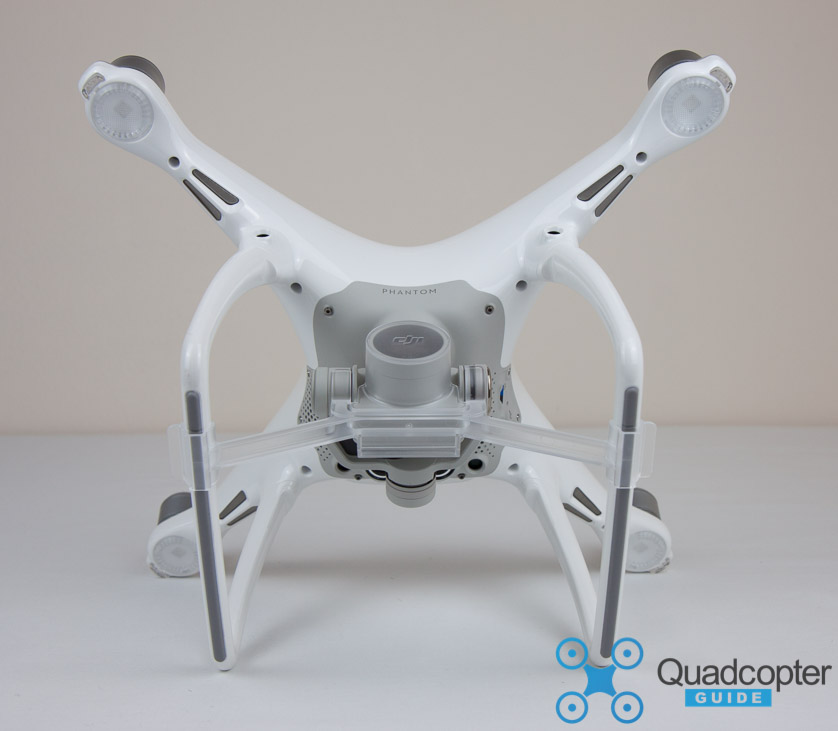 The gimbal clamp clips onto the bottoms of the landing gear surfaces. Note that the only vents on the Phantom 4 are now located on the bottom of the arms, and directly between the gimbal and VPS system.
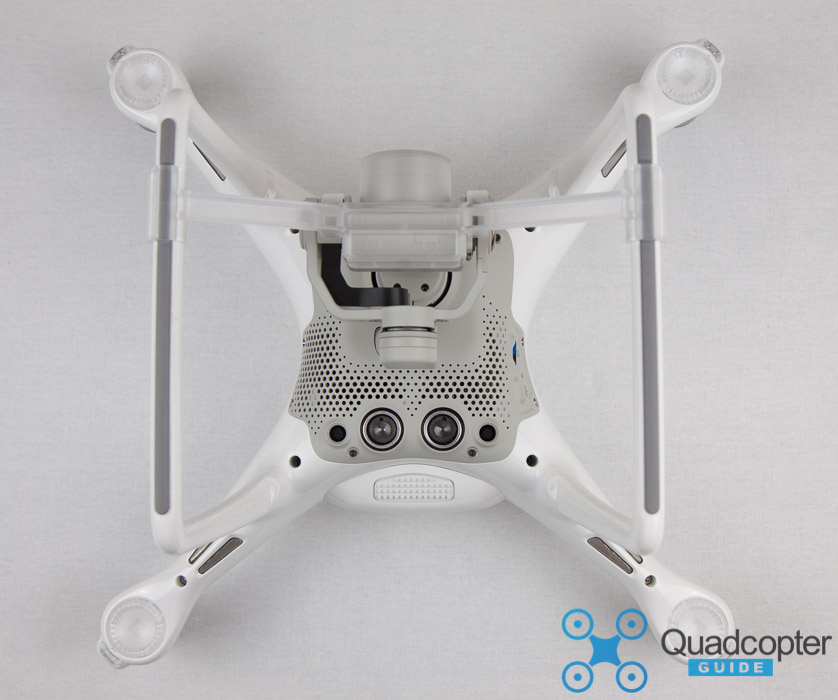 First look at the redesigned VPS (Visual Positioning System) sensors on the bottom of the Phantom 4. Also, note the camera is supported on both sides by the redesigned gimbal.
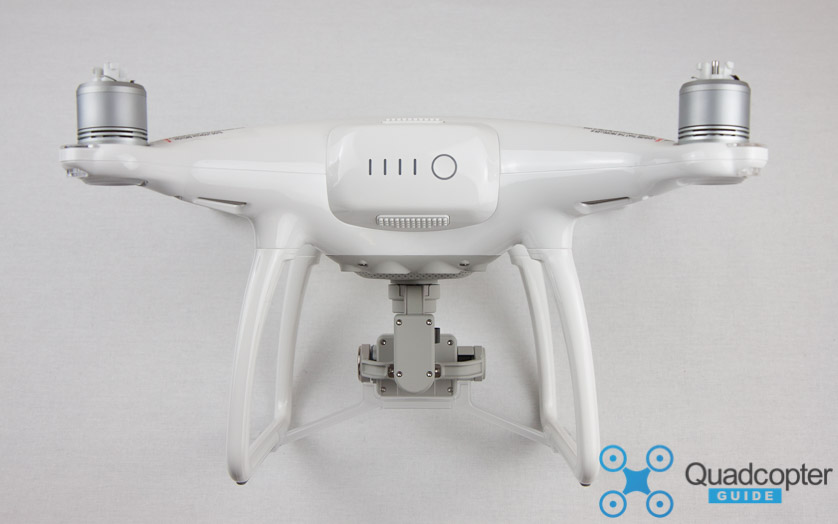 The back view of the Phantom 4. The increased size of the battery and its grip is also clearly visible.
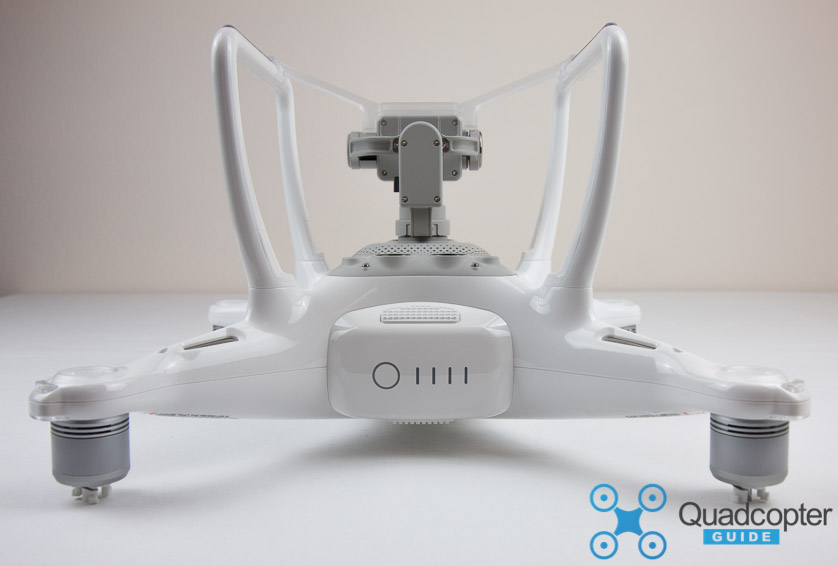 Phantom 4 flipped upside down.
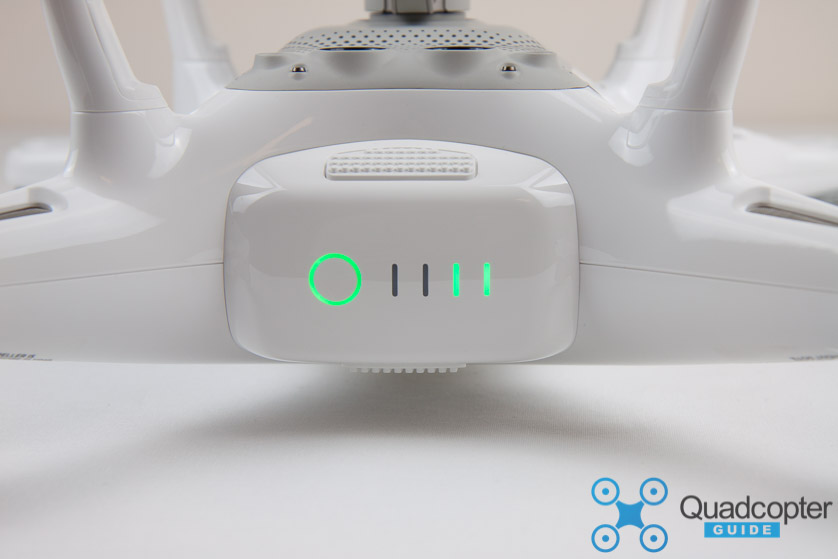 Closeup of the Phantom 4 Intelligent Battery, again after battery level check.
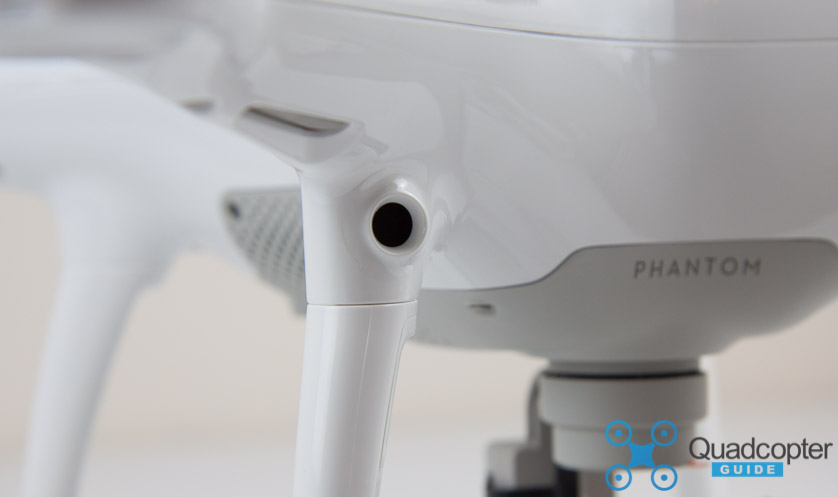 Here we see the first of the two new obstacle avoidance sensors. Each one is a monocular sensor. They work together to provide stereo images to the processing unit to be able to interpret distance.
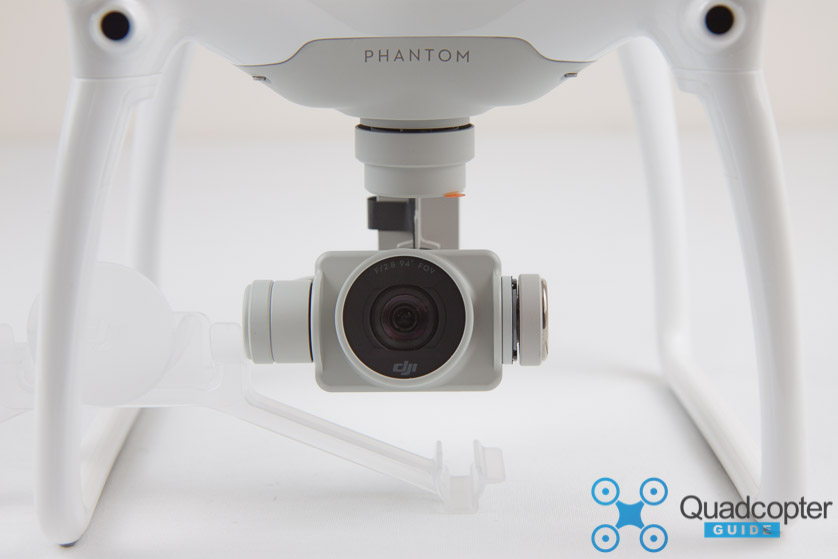 Front view close-up of the camera with redesigned lens elements and gimbal. Note the little orange tab on the sticker which is attached to the yaw gimbal motor. This will have to be removed.
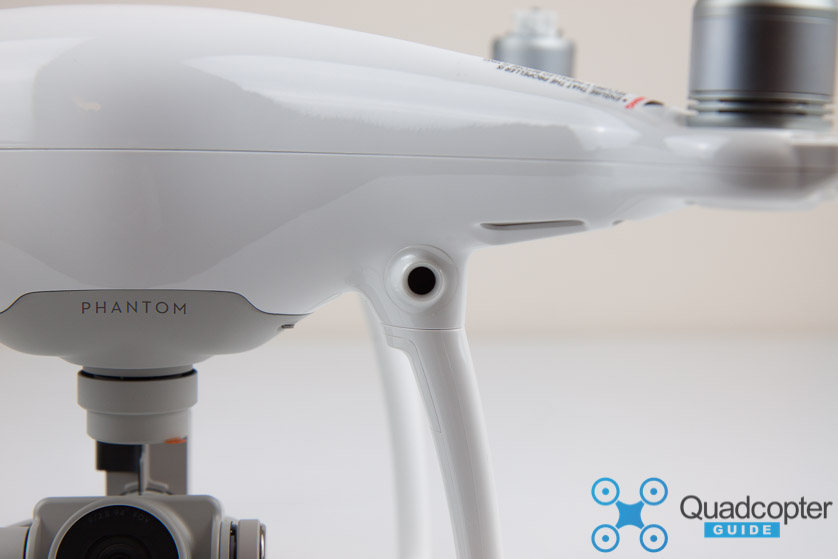 The left front side of the quadcopter (when viewing from the rear) features of course, the matching monocular obstacle avoidance sensor as we saw on the right side earlier.
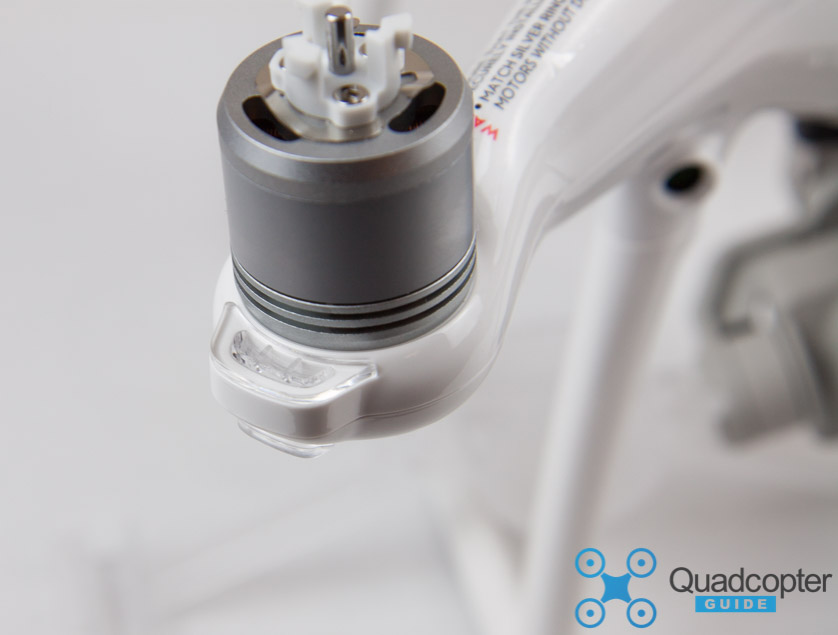 Closeup of the new motor design including the quick-release propeller mounting plates. Only the top part of the motor spins. The bottom portion of the motors housing or “can” are mounted solidly onto the frame of the quadcopter.
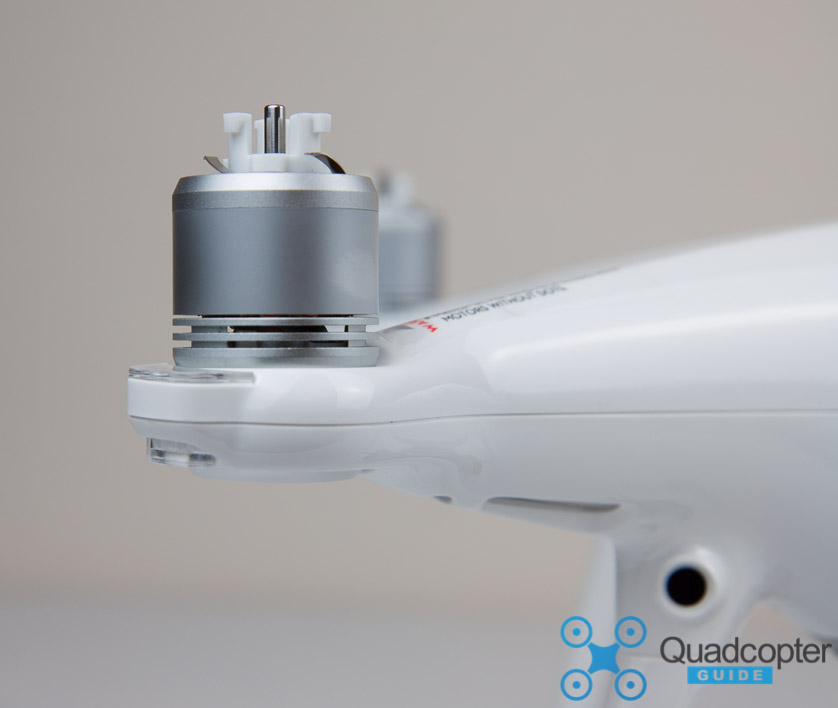 Side view of the new motor design and quick-release propeller mounts.
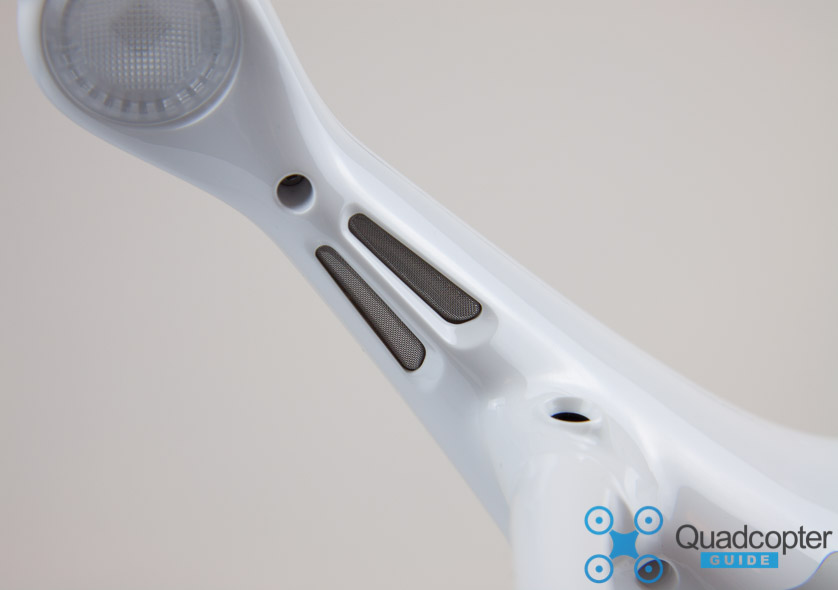 Closeup of the mesh covered vents located on the bottom of each arm. The Front LED Indicator’s and the front Status LED Indicators have been moved to be directly under the motors.
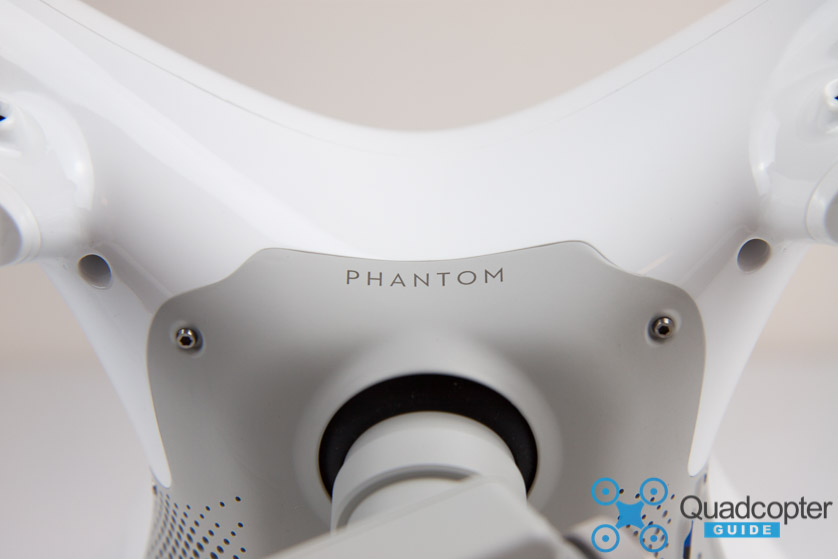 The integrated vibration reduction mount is now inside the Phantom 4 body.
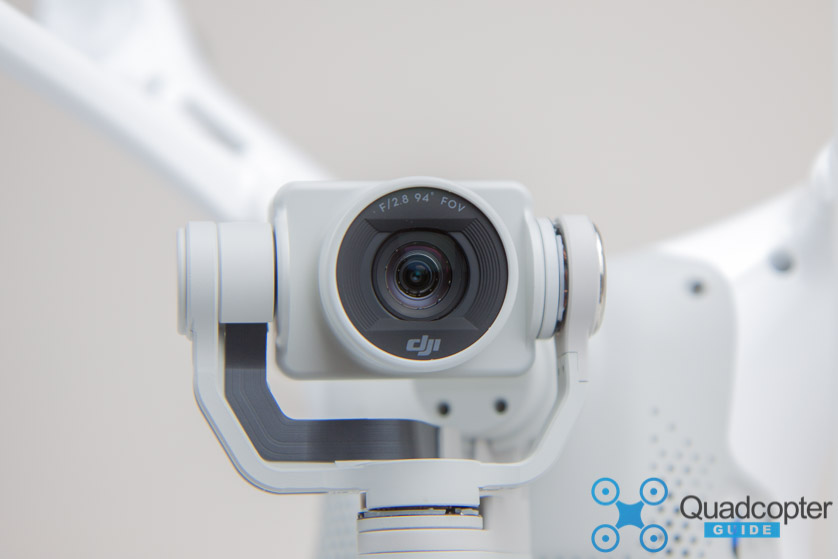 Closeup of the Phantom 4 Camera with it’s redesigned F/2.8 94° degree FOV (Field of View) Lens. It allows you to get distortion-free images and videos. No fisheye effect like on the action cameras!
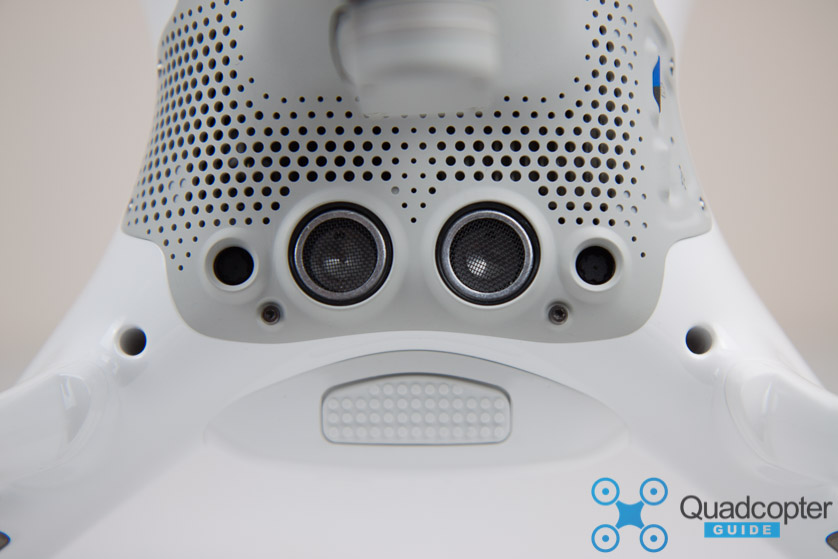 Closeup of the VPS System including the two new monocular object avoidance sensors facing downwards. The VPS Systems sensitivity range has been increased from 1.64ft-9.84ft (0.05m-3m) to 0 – 33 feet (0 – 10 m).
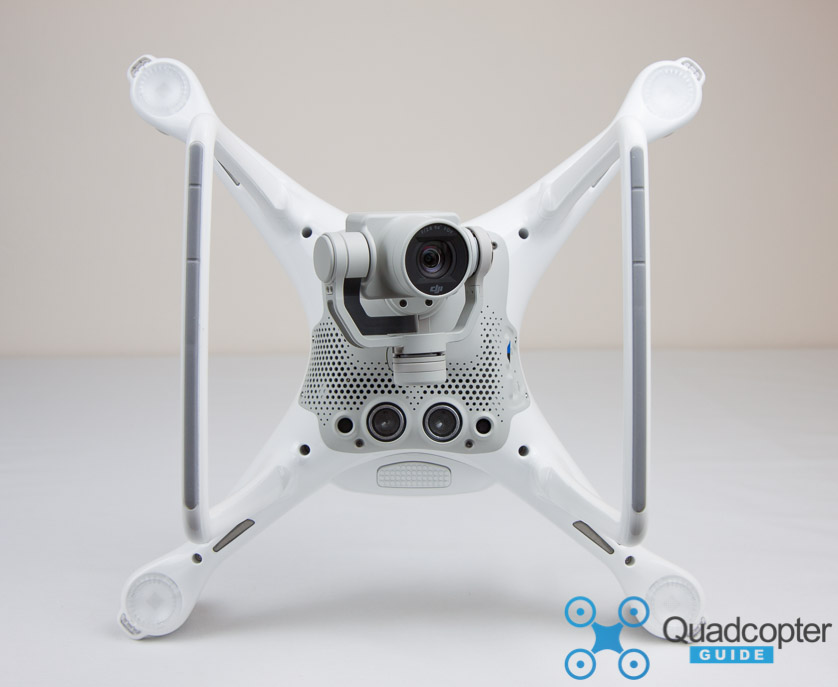 Another bottom view of the DJI Phantom 4.
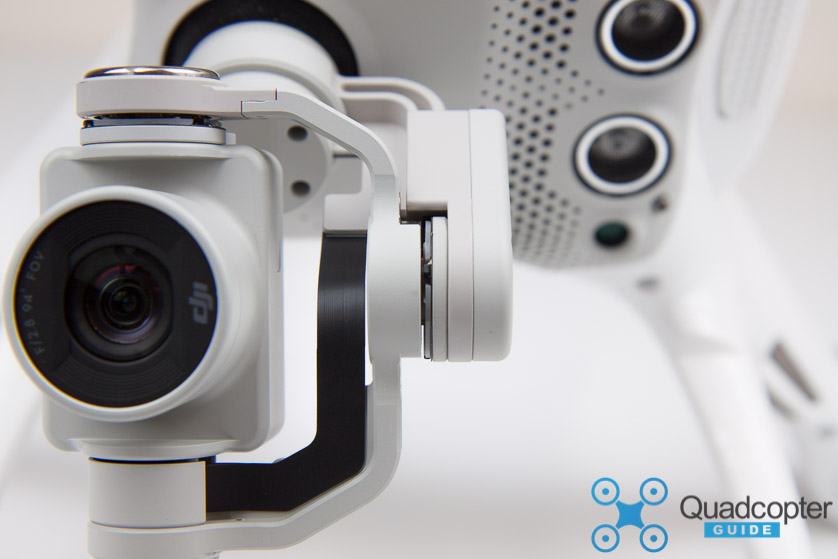 Closer look at the gimbal and its tilt and roll motors.
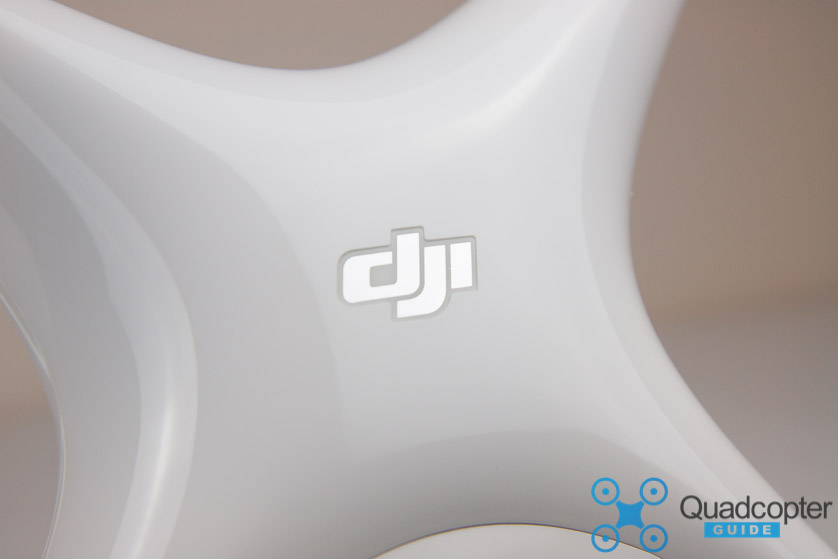 The DJI Logo featured on top of the shell.
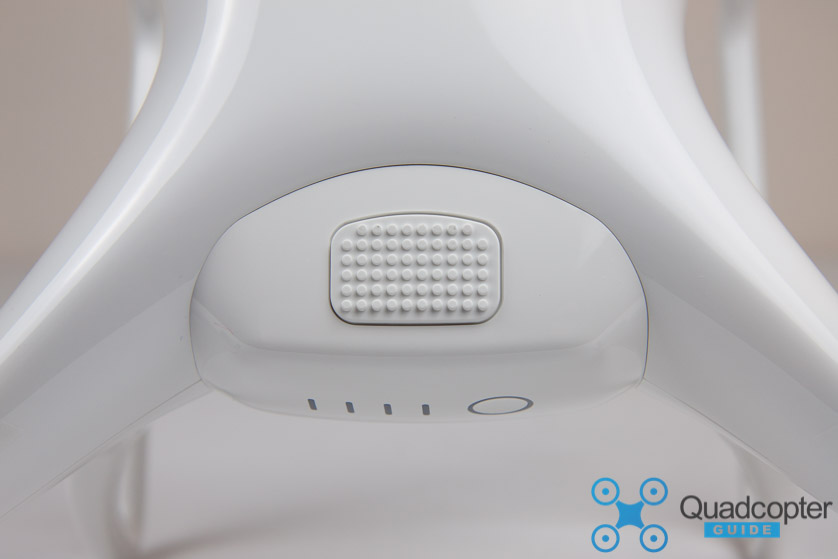 The large grippy battery grip makes battery removal easier.
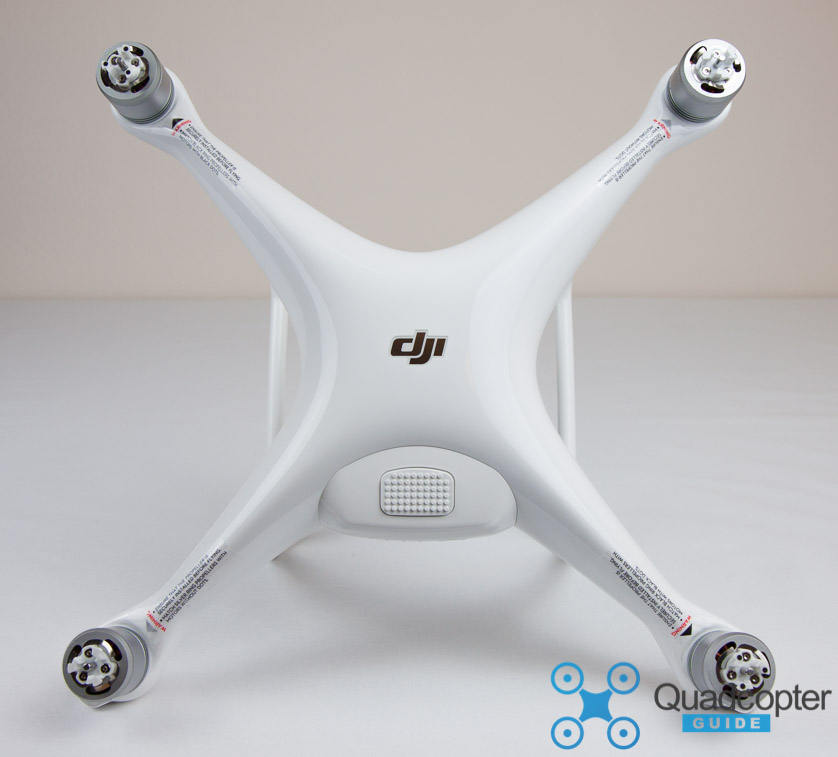 Top view of the Phantom 4.
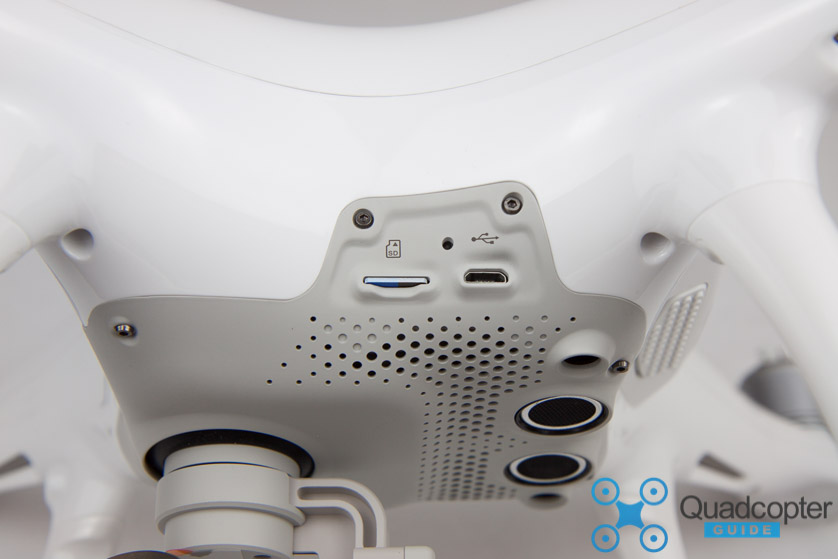 Left side of the Phantom 4 featuring the moved microSD card slot and microUSB port. The camera LED Indicator is found between and above the two.
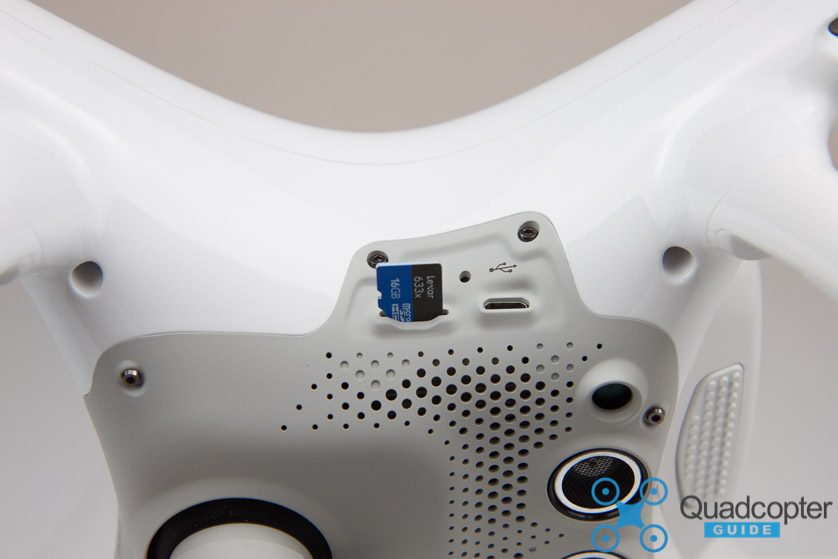 MicroSD card ejected out of the Phantom 4
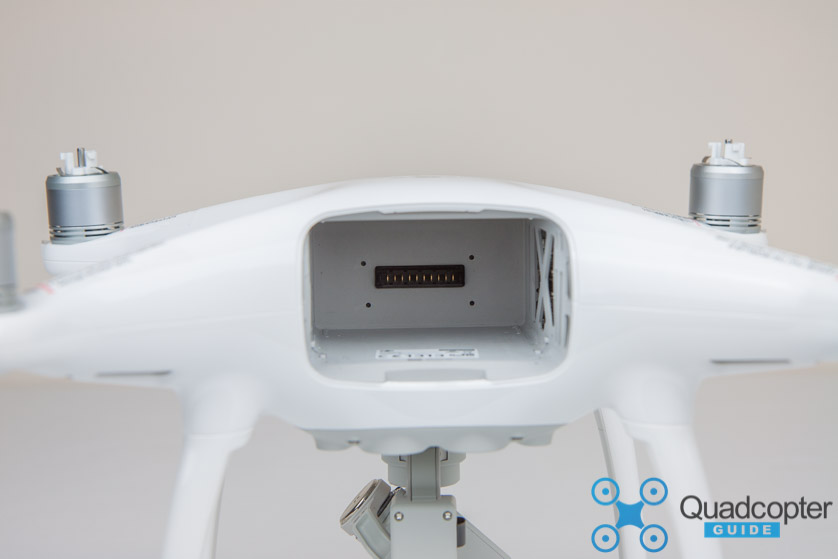 First peek at the magnesium core of the Phantom 4. Note the new battery connector featured at the back of the battery compartment.
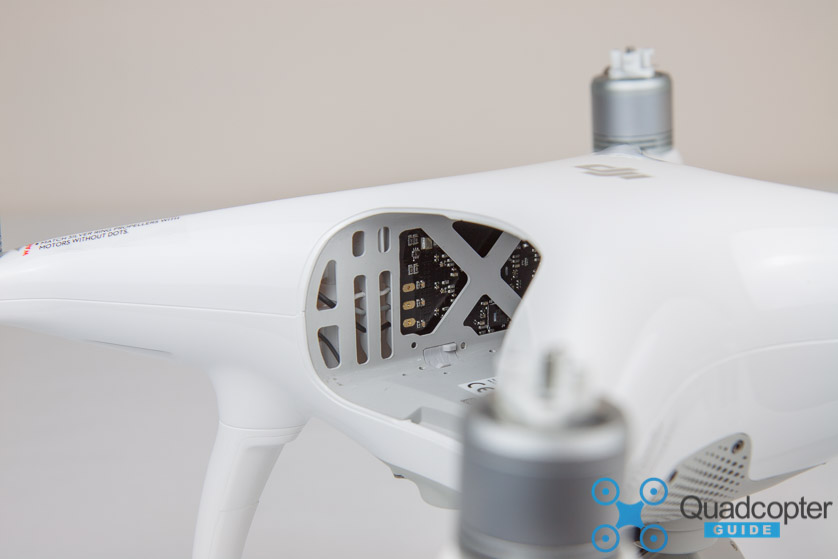 The ESC’s (Electronic Speed Controls) which control how fast the motors spin are found along both sides of the magnesium cage which makes up the battery compartment.
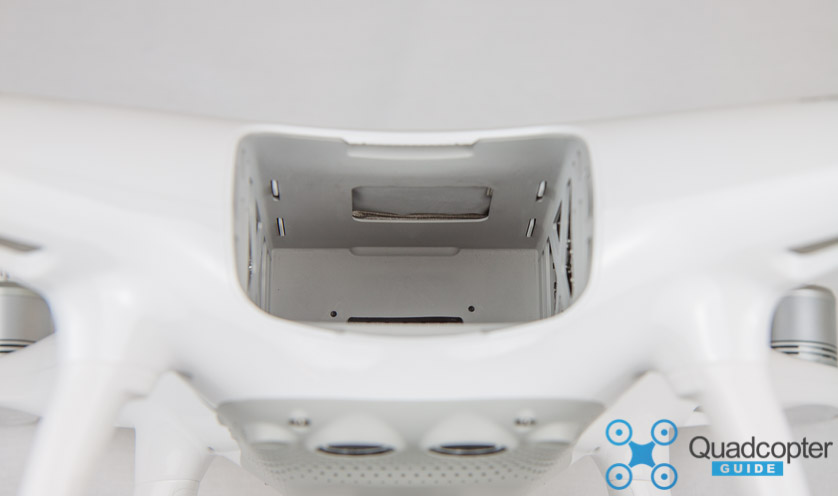 The GPS receiver is located above the battery compartment. You can see the cloth like enclosure through the cutout in the top portion of the battery compartment.
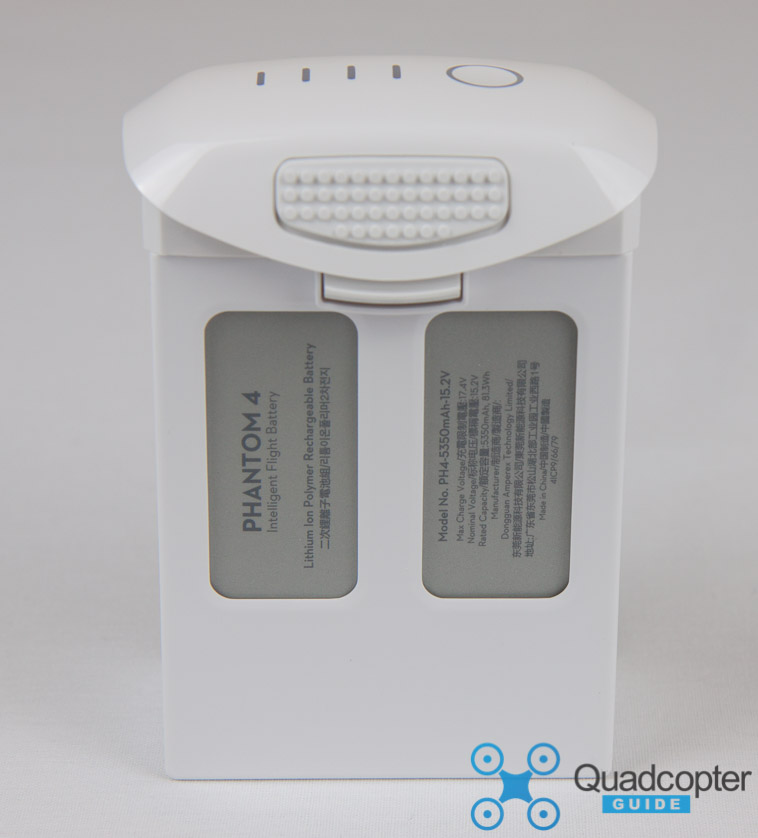 A look at the bottom of the battery when it is placed inside the quadcopter. The thinner grip portion of the battery faces downwards once inserted.
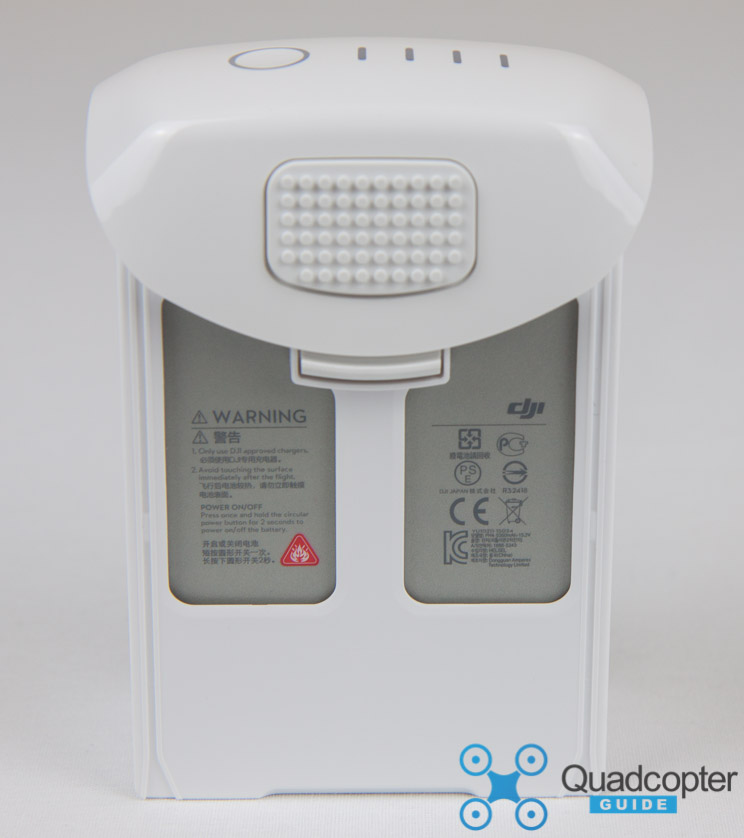 The top of the battery. Notice the larger grip on this side compared to the bottom pictured above.
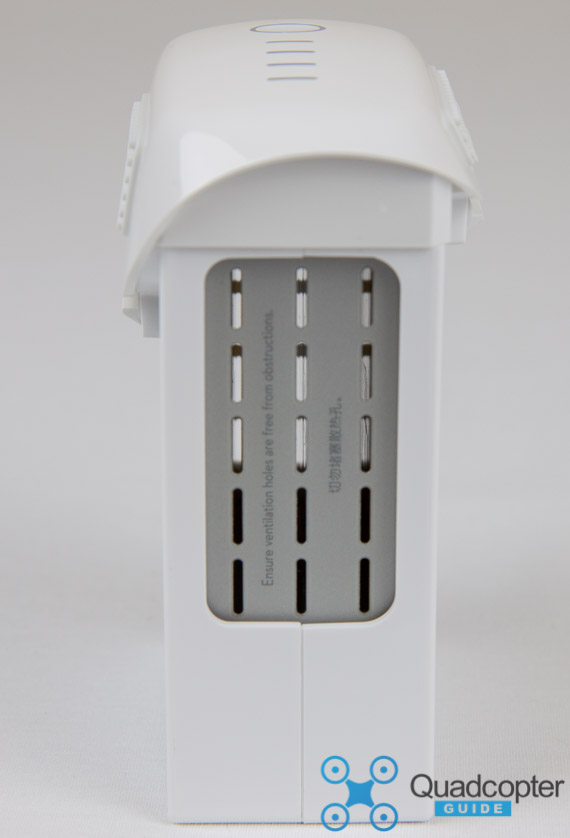 The sides of the battery feature ventilation slots to improve airflow between the battery cells. This helps the cooling of the cells, and in turn should extend the lifespan of the battery if taken care of.
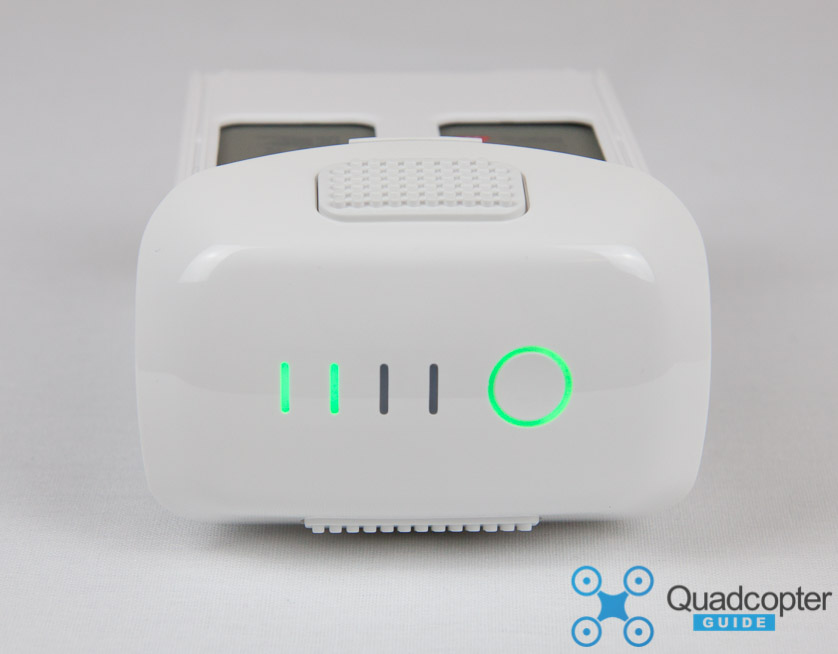 Front of the 5350 mAh 15.2V Intelligent Flight Battery
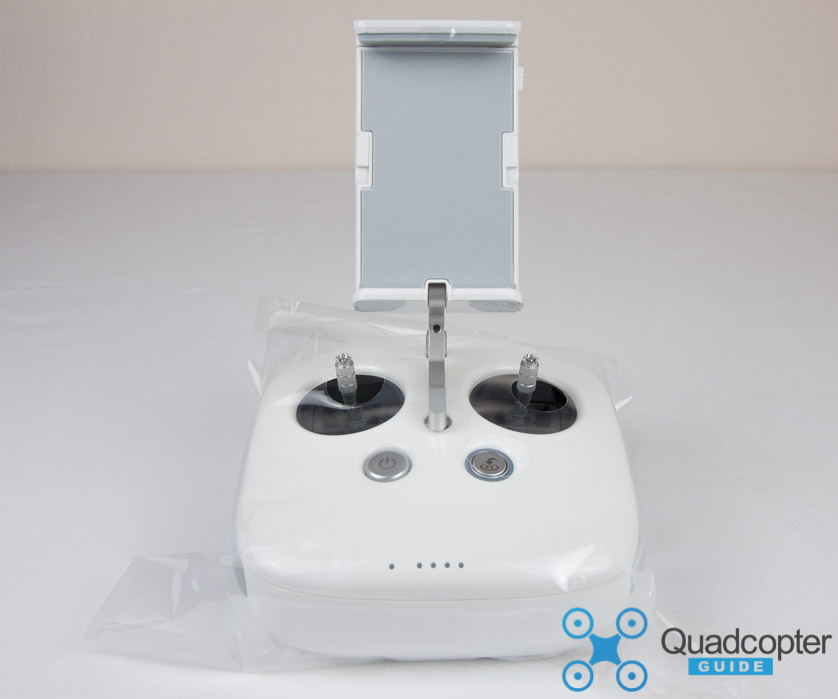 Phantom 4 Remote Control
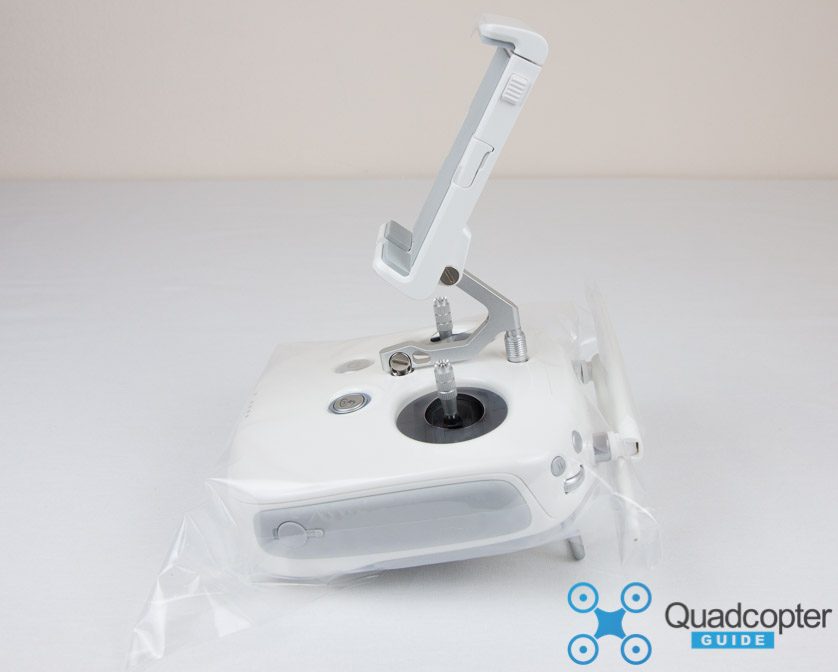 Side view of the Remote Control. It features the metal mobile device holder as featured on the Inspire 1 Remote Controls. This improves stability of the device holder when used with larger tablets such as the iPad.
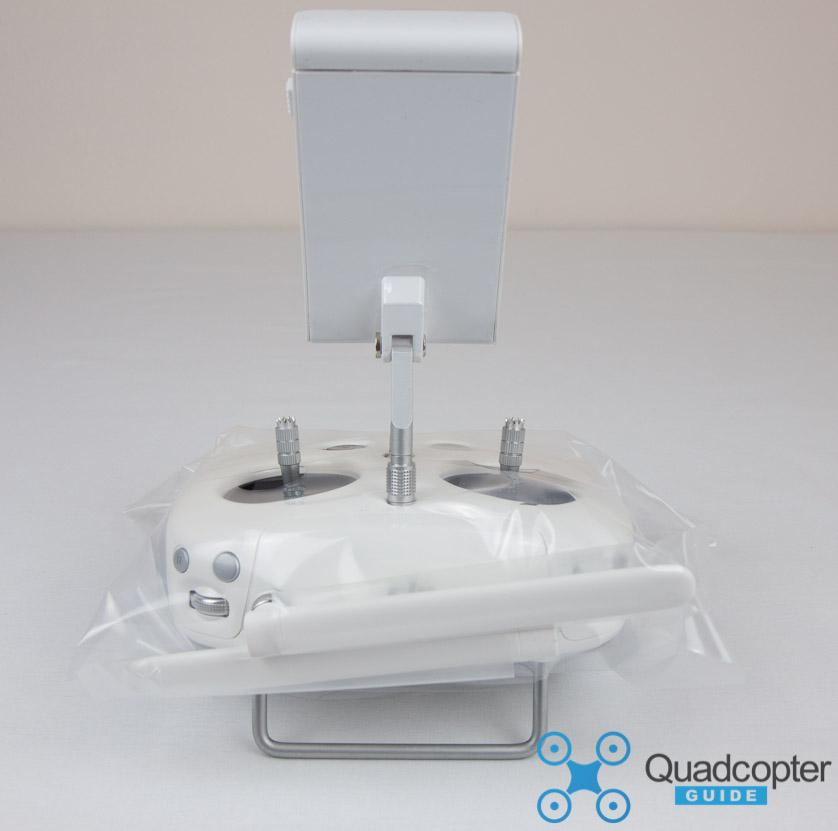 The front side of the Remote Control.
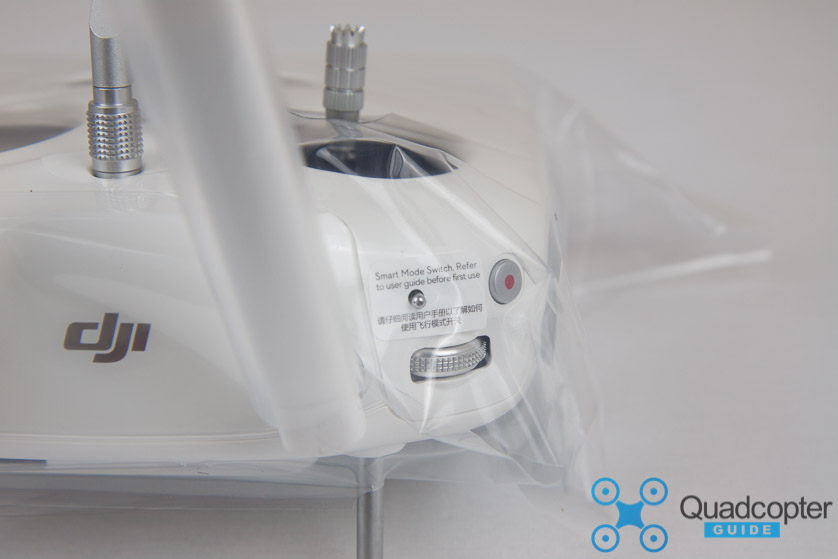 Smart Mode Switch covered by warning sticker.
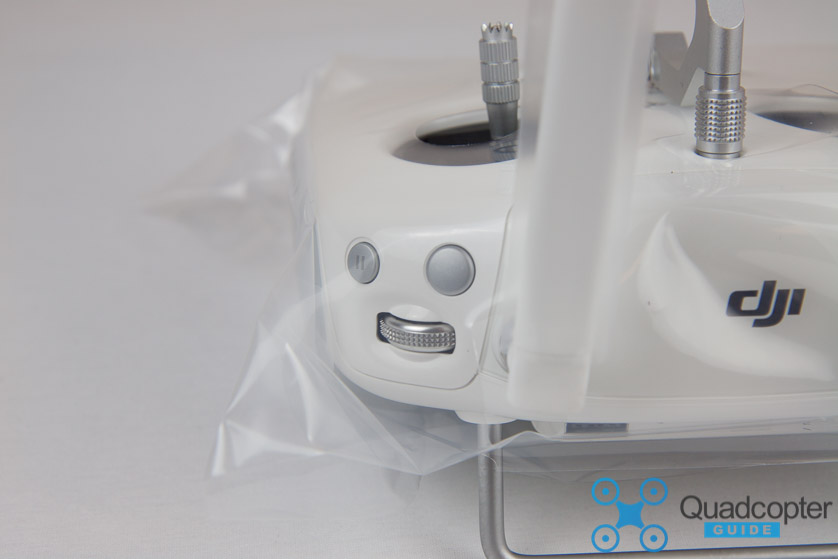 Right Button Group on Phantom 4 Remote Control.
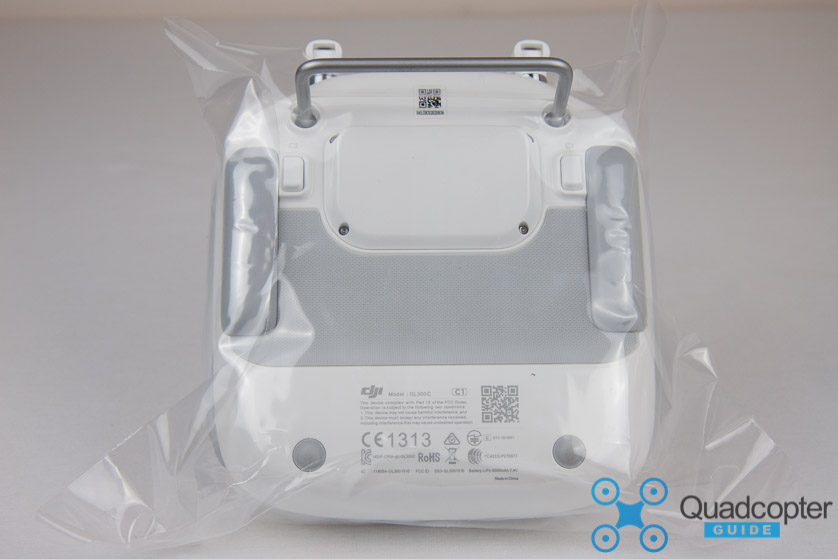 C1 & C2 Switch found on the bottom of the Remote Control are visible.
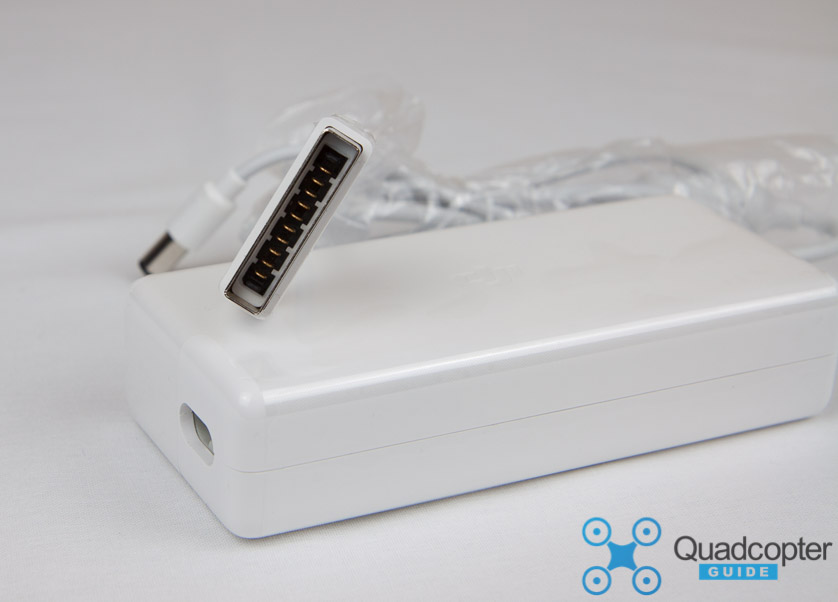 The new charger plug on the 100W Phantom 4 charger.
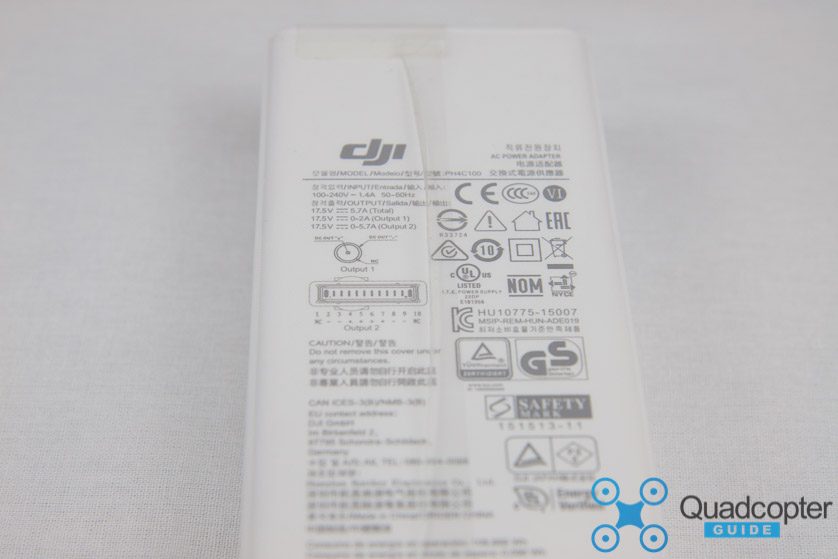 The 100 Watt charger features outputs of 17.5 Volts at 5.7 Amps total. The Remote Control is charged at a max of 2 Amps, and the Phantom 4 Intelligent Batteries are charged at a max of 5.7 Amps. This makes sense as the values are close to 1C of the battery capacity (1C means charging a 2000 mAh battery at 2 Amps or 2000 milliamps). 1C is a standard LiPo charge rate.
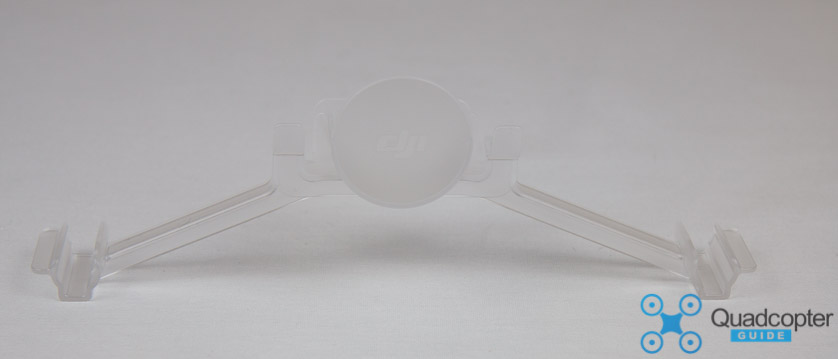 Phantom 4 gimbal holder/clamp
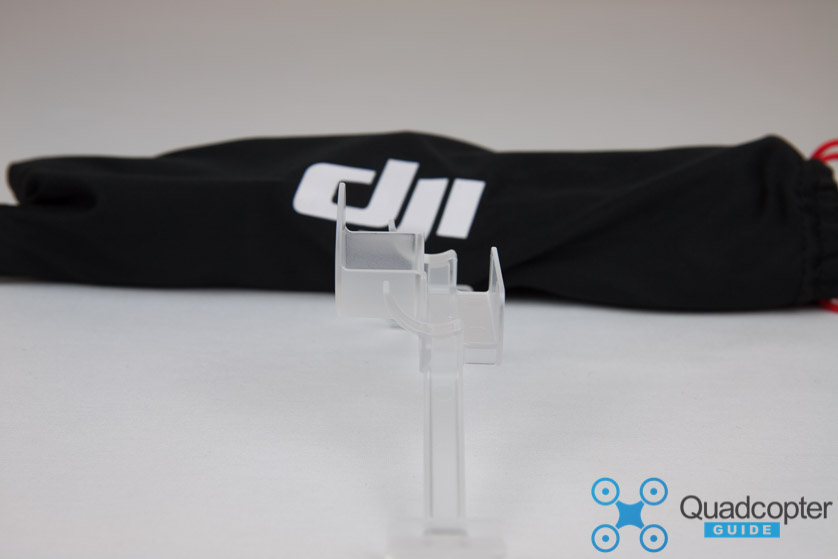 Side profile of the gimbal clamp.
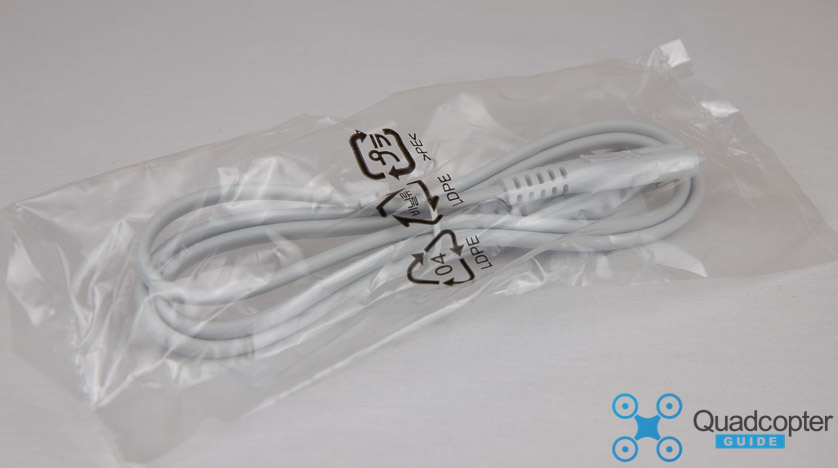 AC power cable for the 100 W Phantom 4 charger.
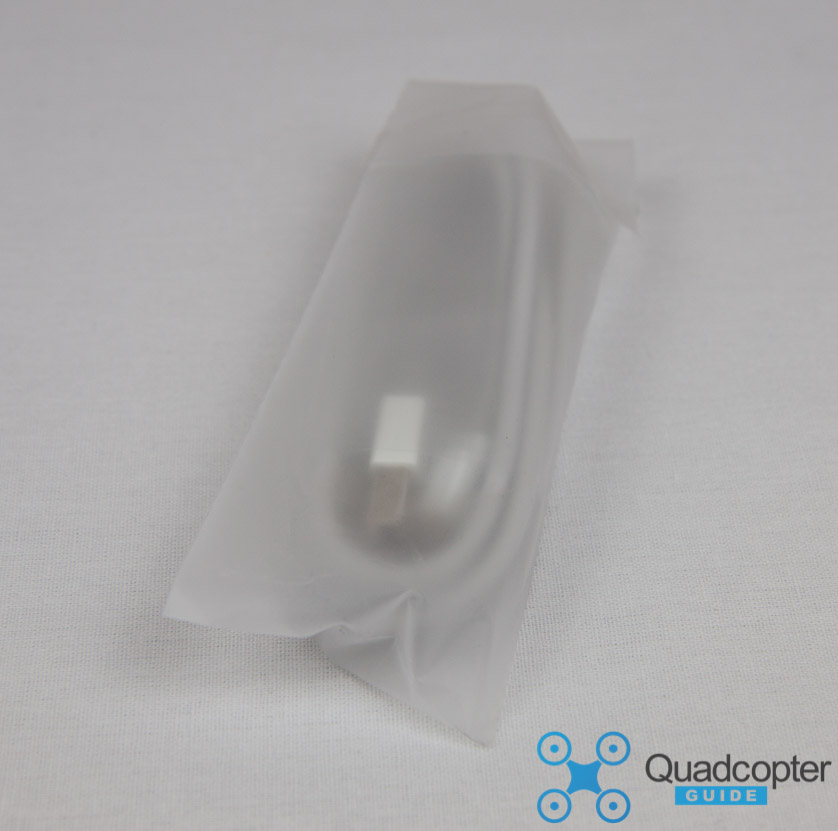 USB to microUSB cable
 USB OTG cable
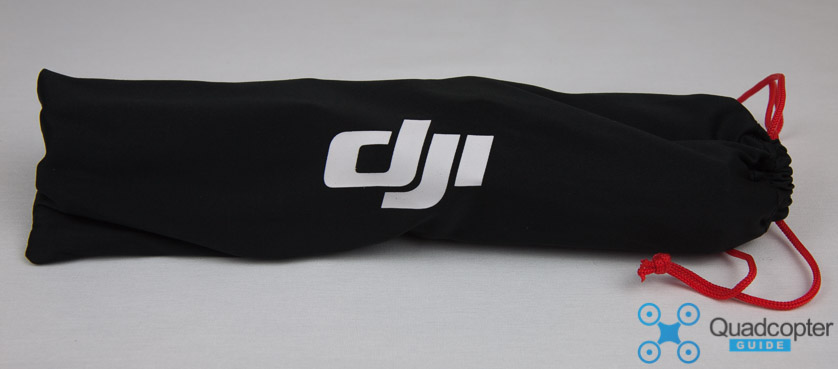 Fabric carrying pouch for the quick-release Phantom 4 propellers
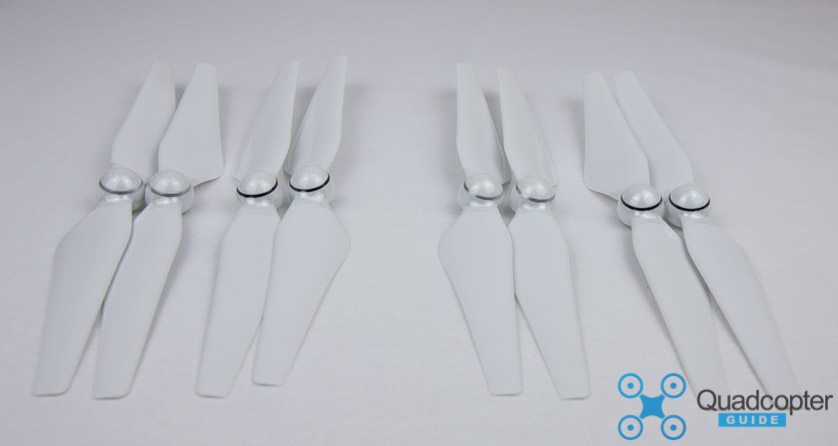 Two complete sets of quick-release propellers. 4 CW (Clockwise) and 4 CCW (Counterclockwise) propellers.
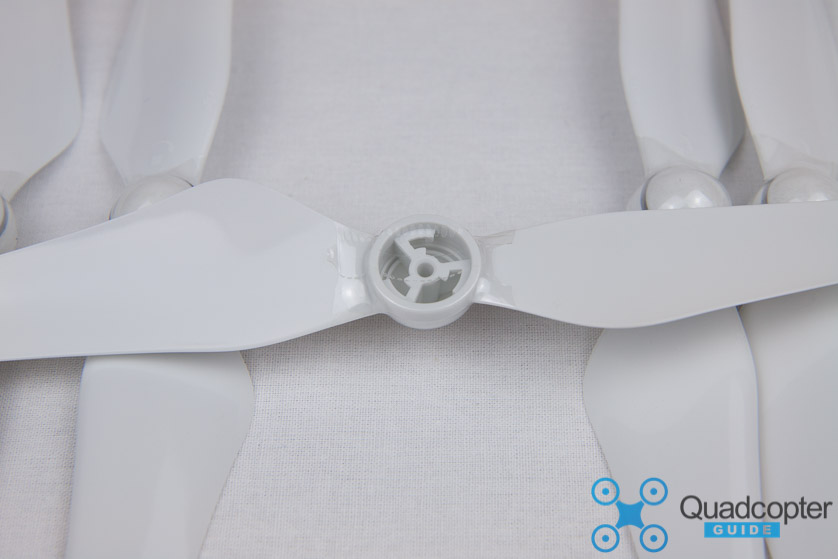 Bottom of the quick-release propeller
 Phantom 4 Documentation (Quick Start Guide, In The Box, Intelligent Flight Battery Safety Guidelines, Disclaimer and Safety Guidelines)
Don’t forget to check out our Phantom 4 Accessories page! Everything you need to know about the Phantom 4 Accessories here.
We hope you have enjoyed this detailed DJI Phantom 4 Unboxing. We hope it has given you a look at what exactly comes in the box and a peek at the improvements which are found on the quadcopter over its predecessors. Be sure to subscribe below to not miss out on exclusive Quadcopter resources such as guides and tips for the DJI Phantom 4!

